
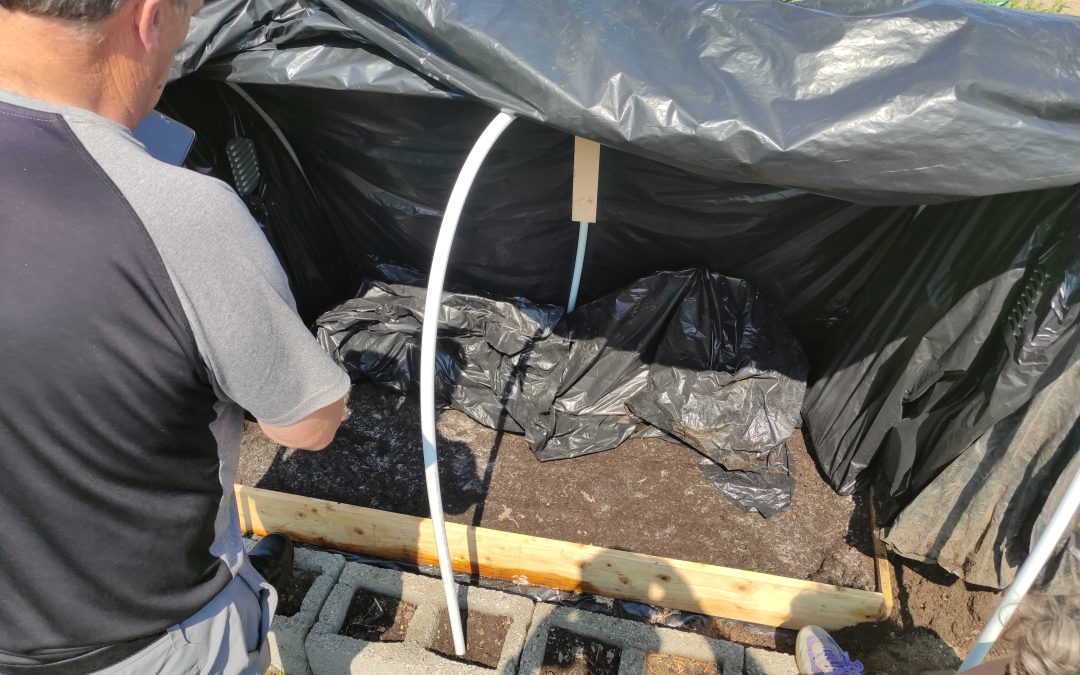
Mushrooms don’t forgive impatience. That’s the first thing we learned at our recent mushroom growing workshop with tutor Peter Canning, run over four weekly two-hour sessions, and it shaped everything that followed.
What Does It Take to Grow Mushrooms?
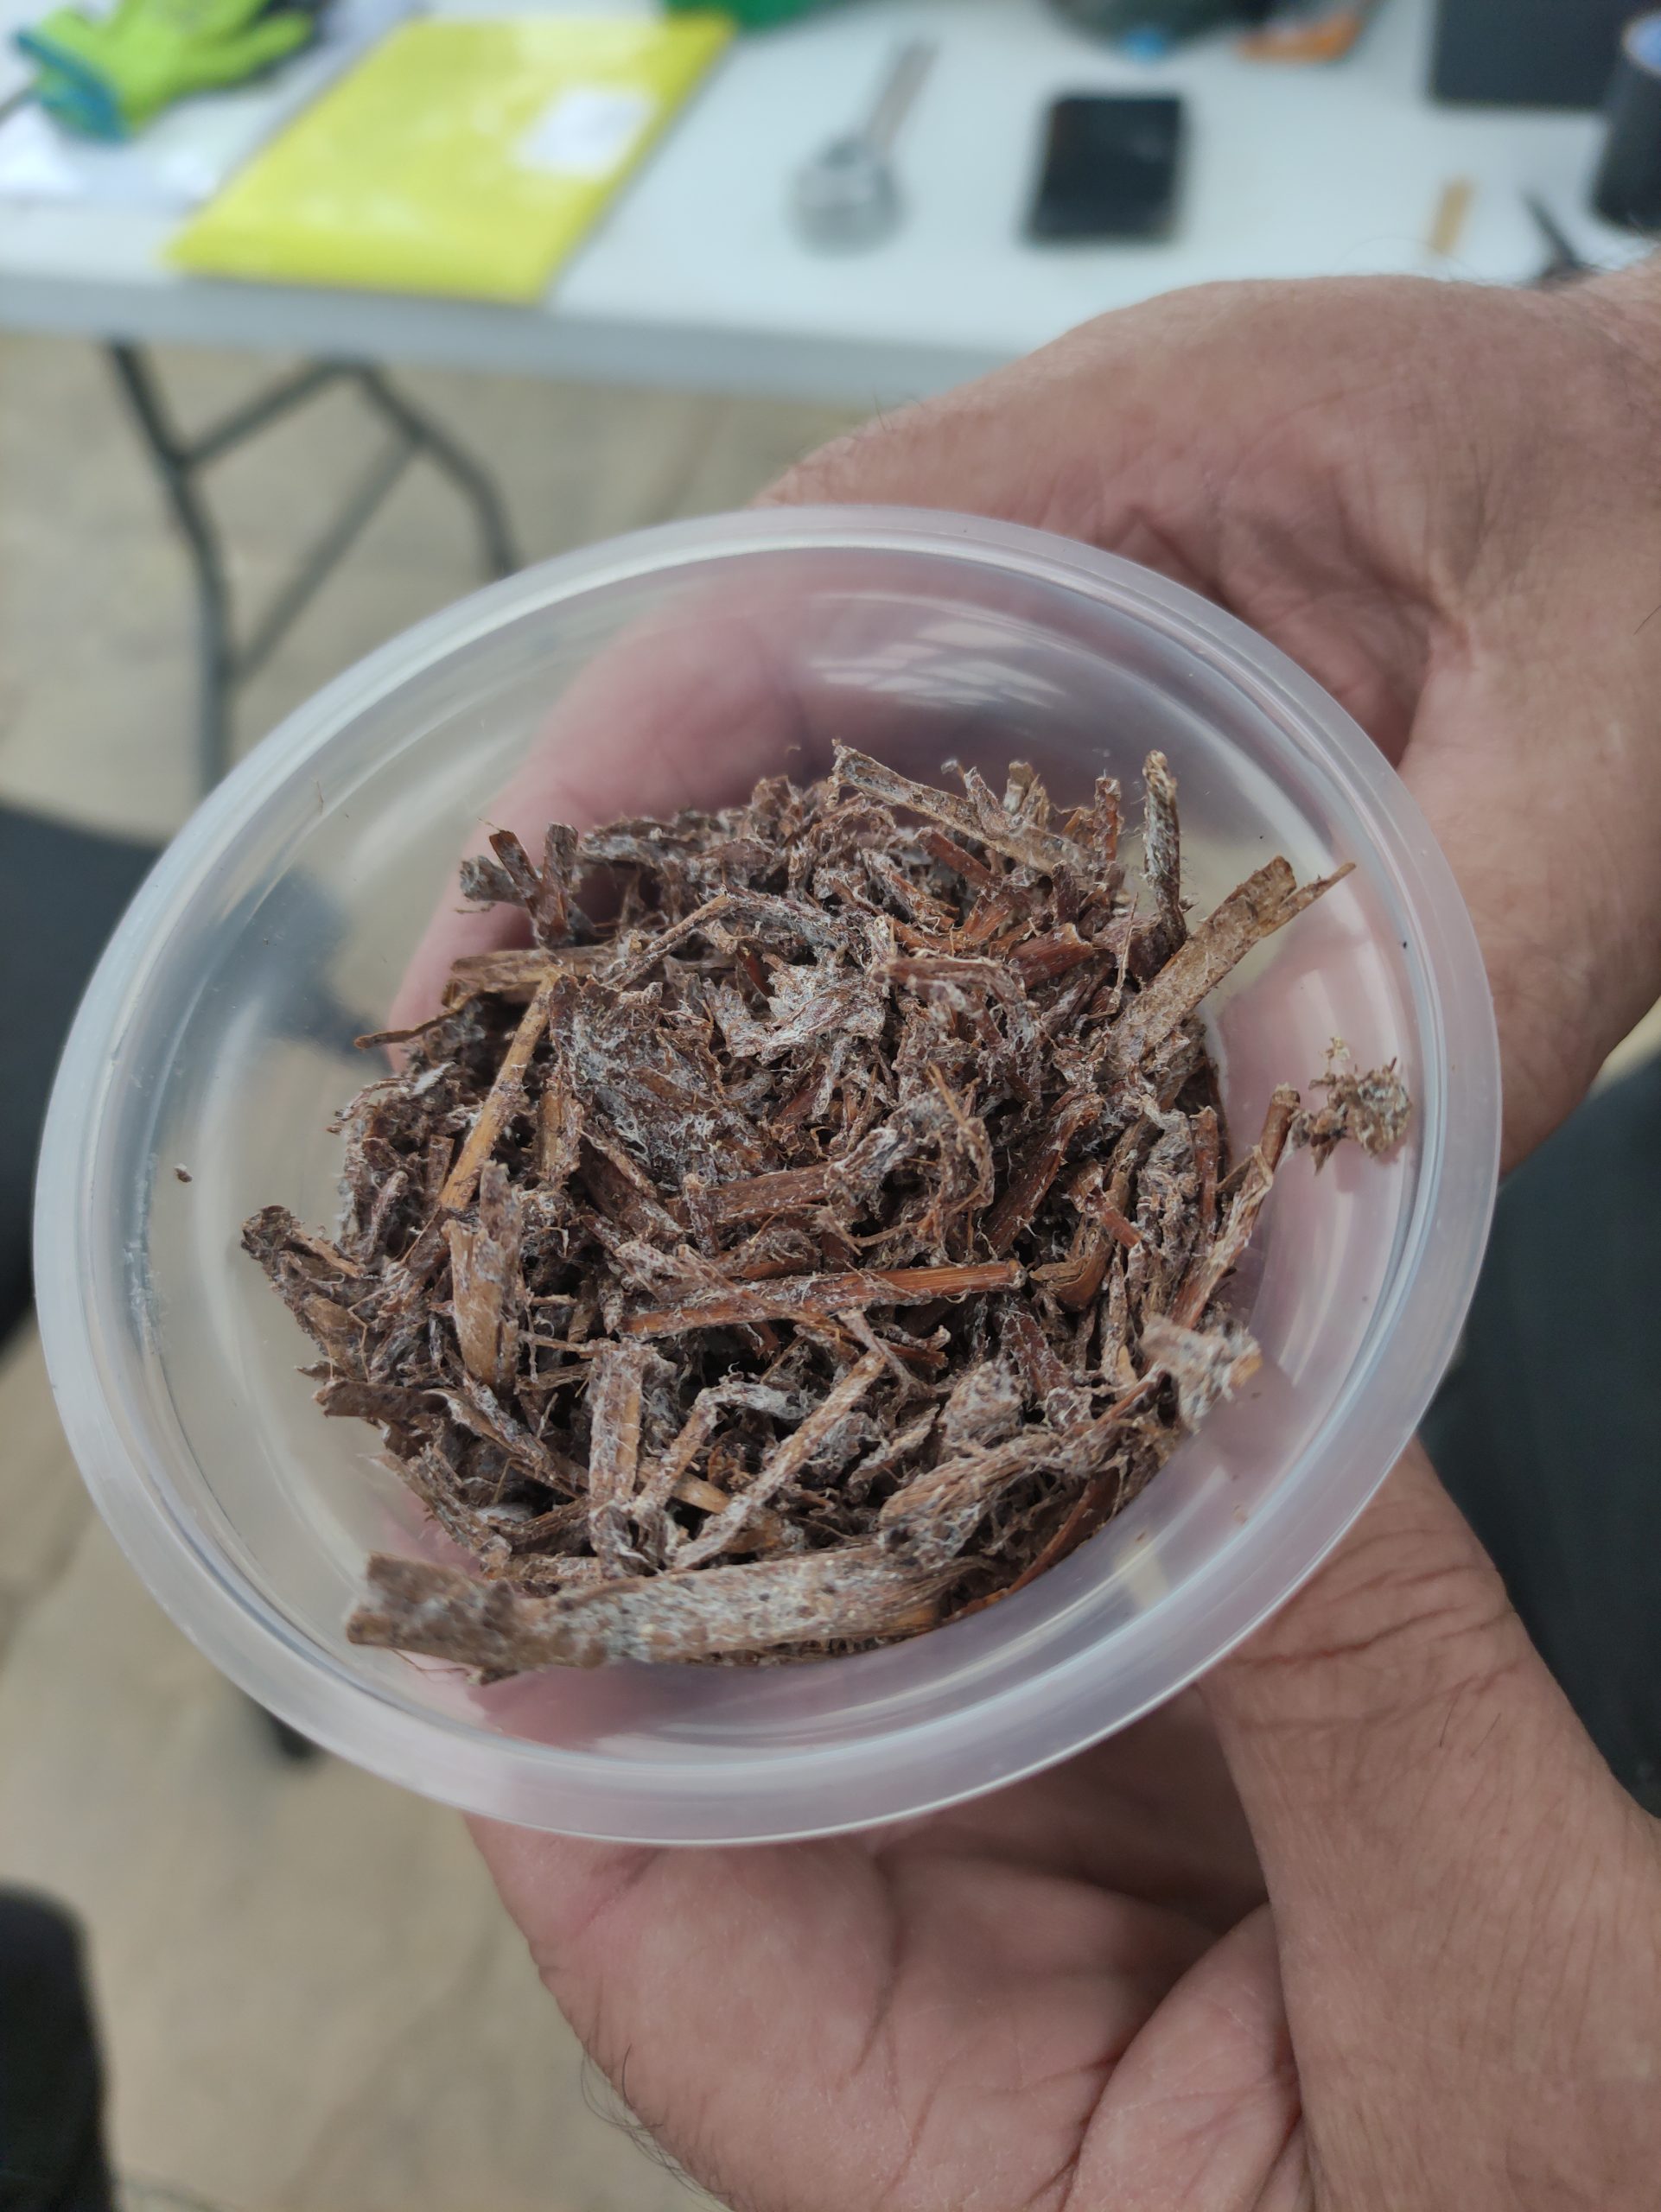
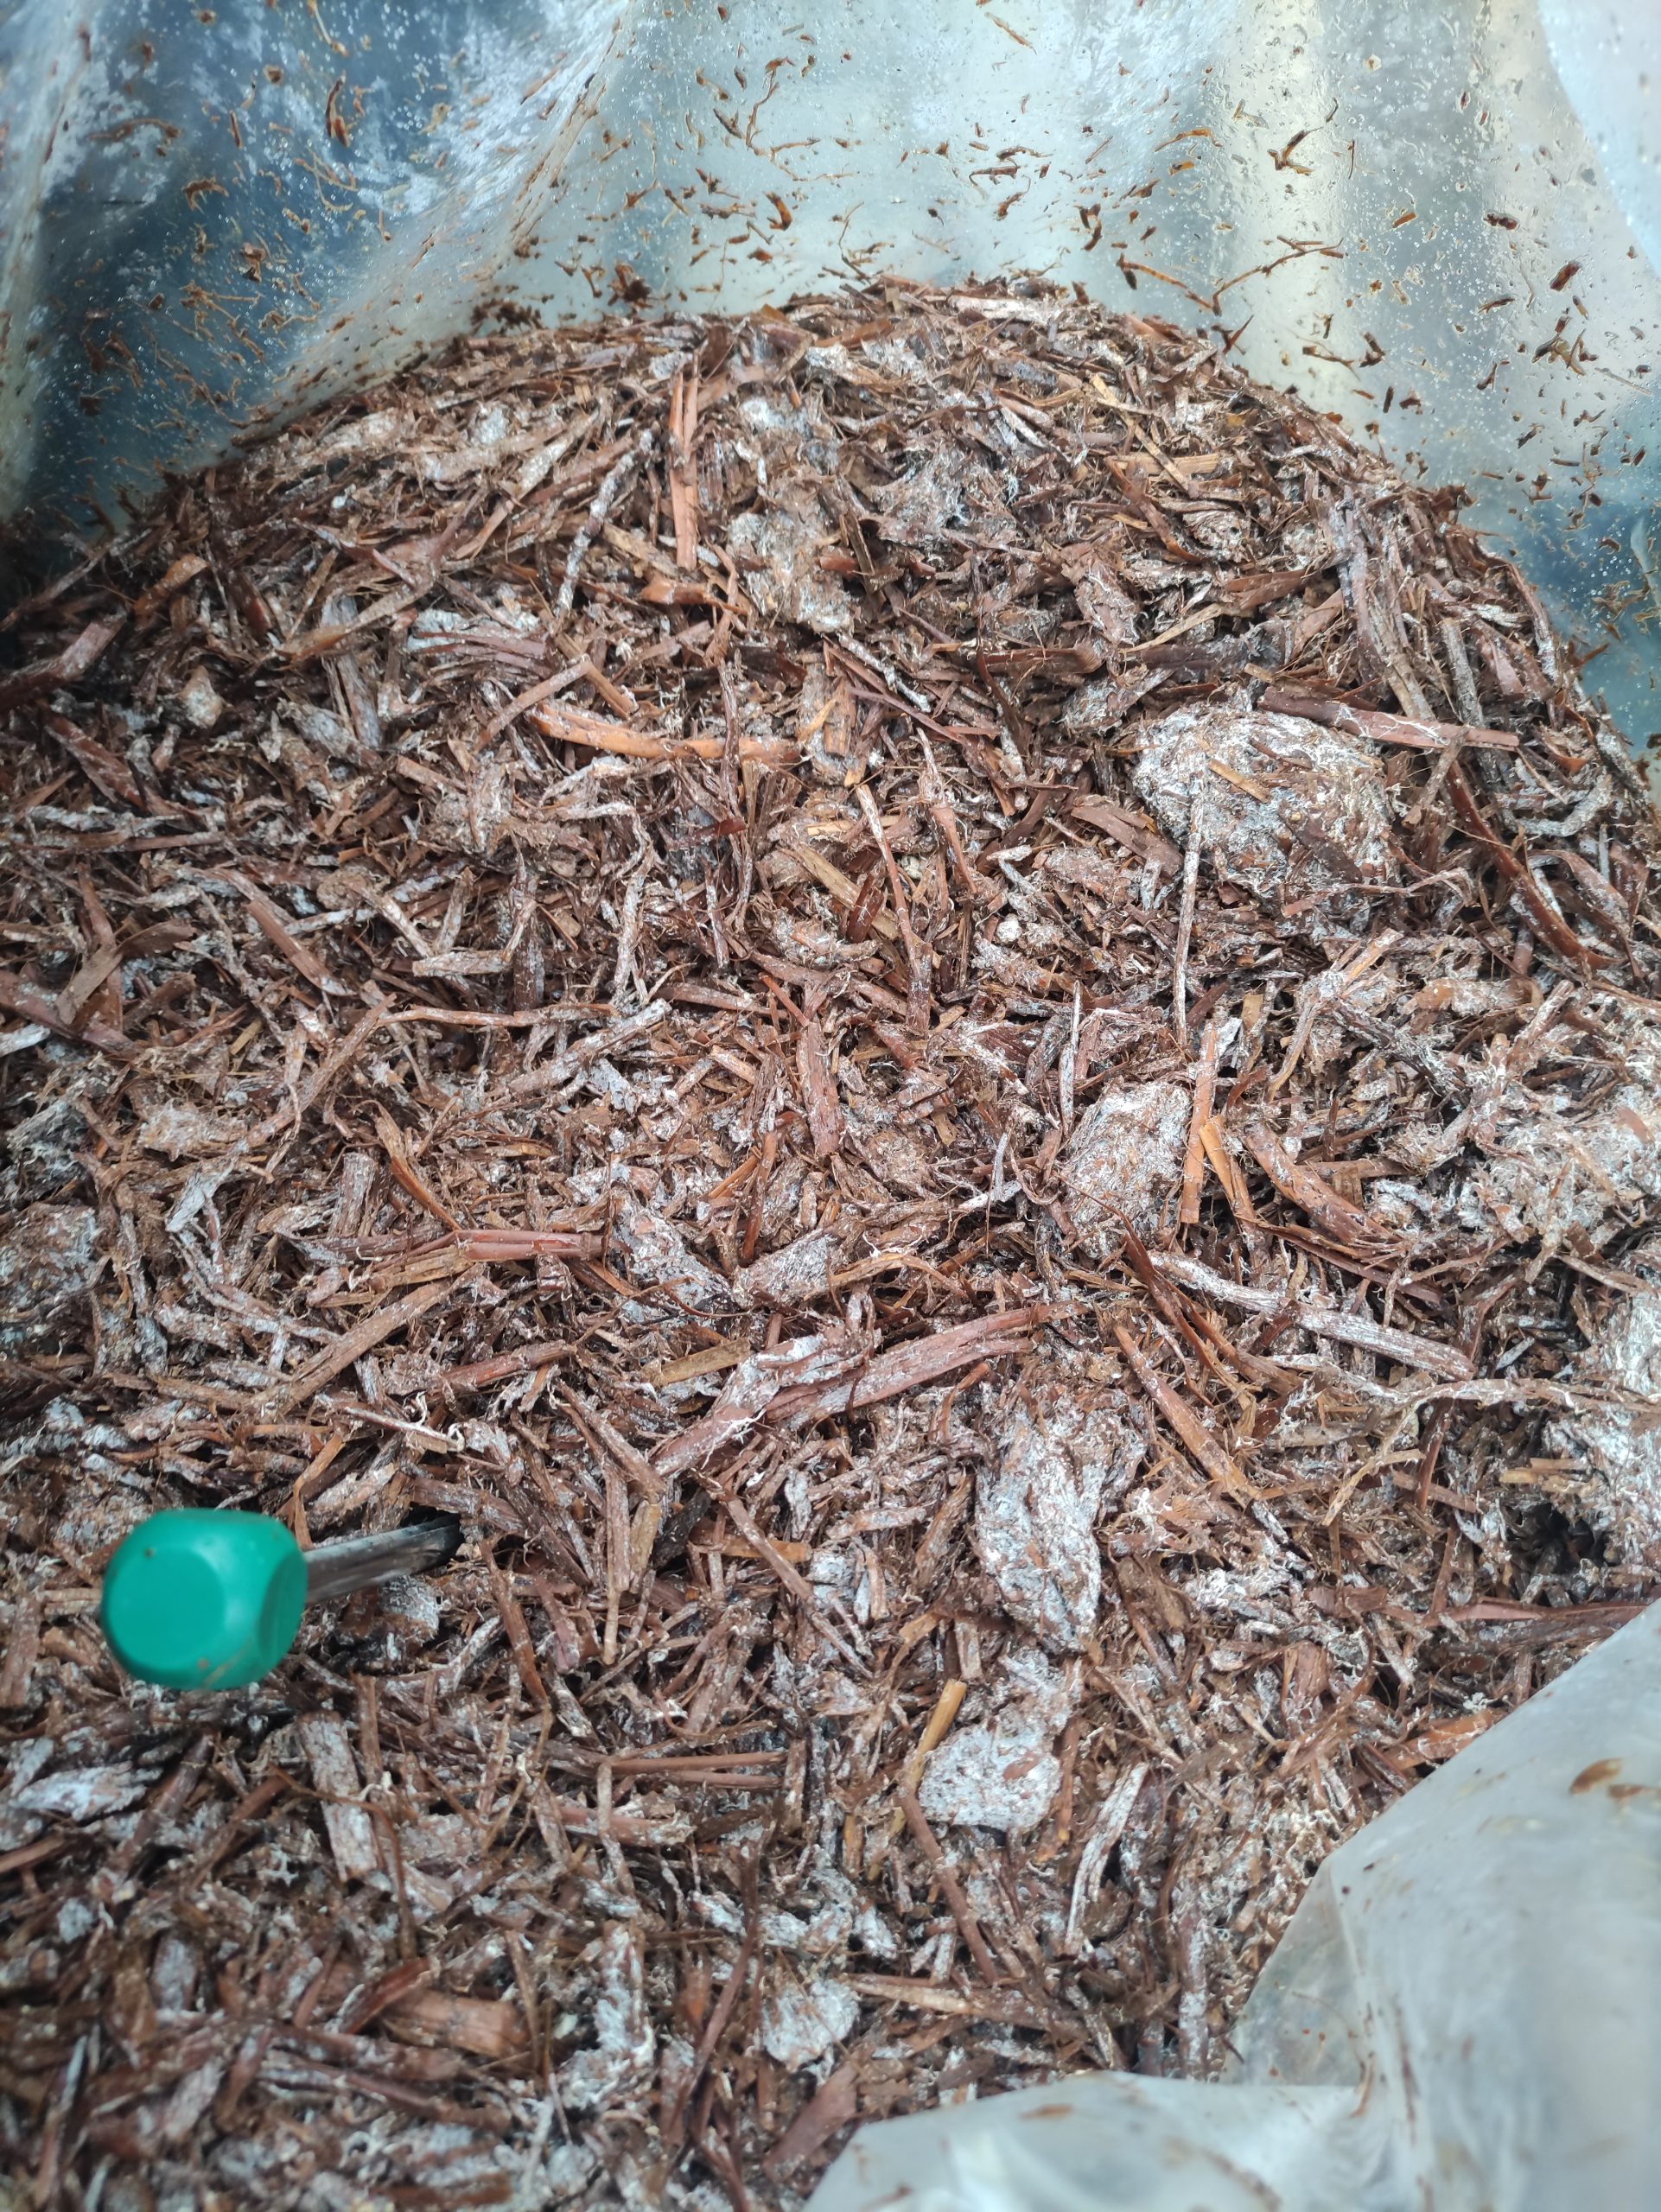
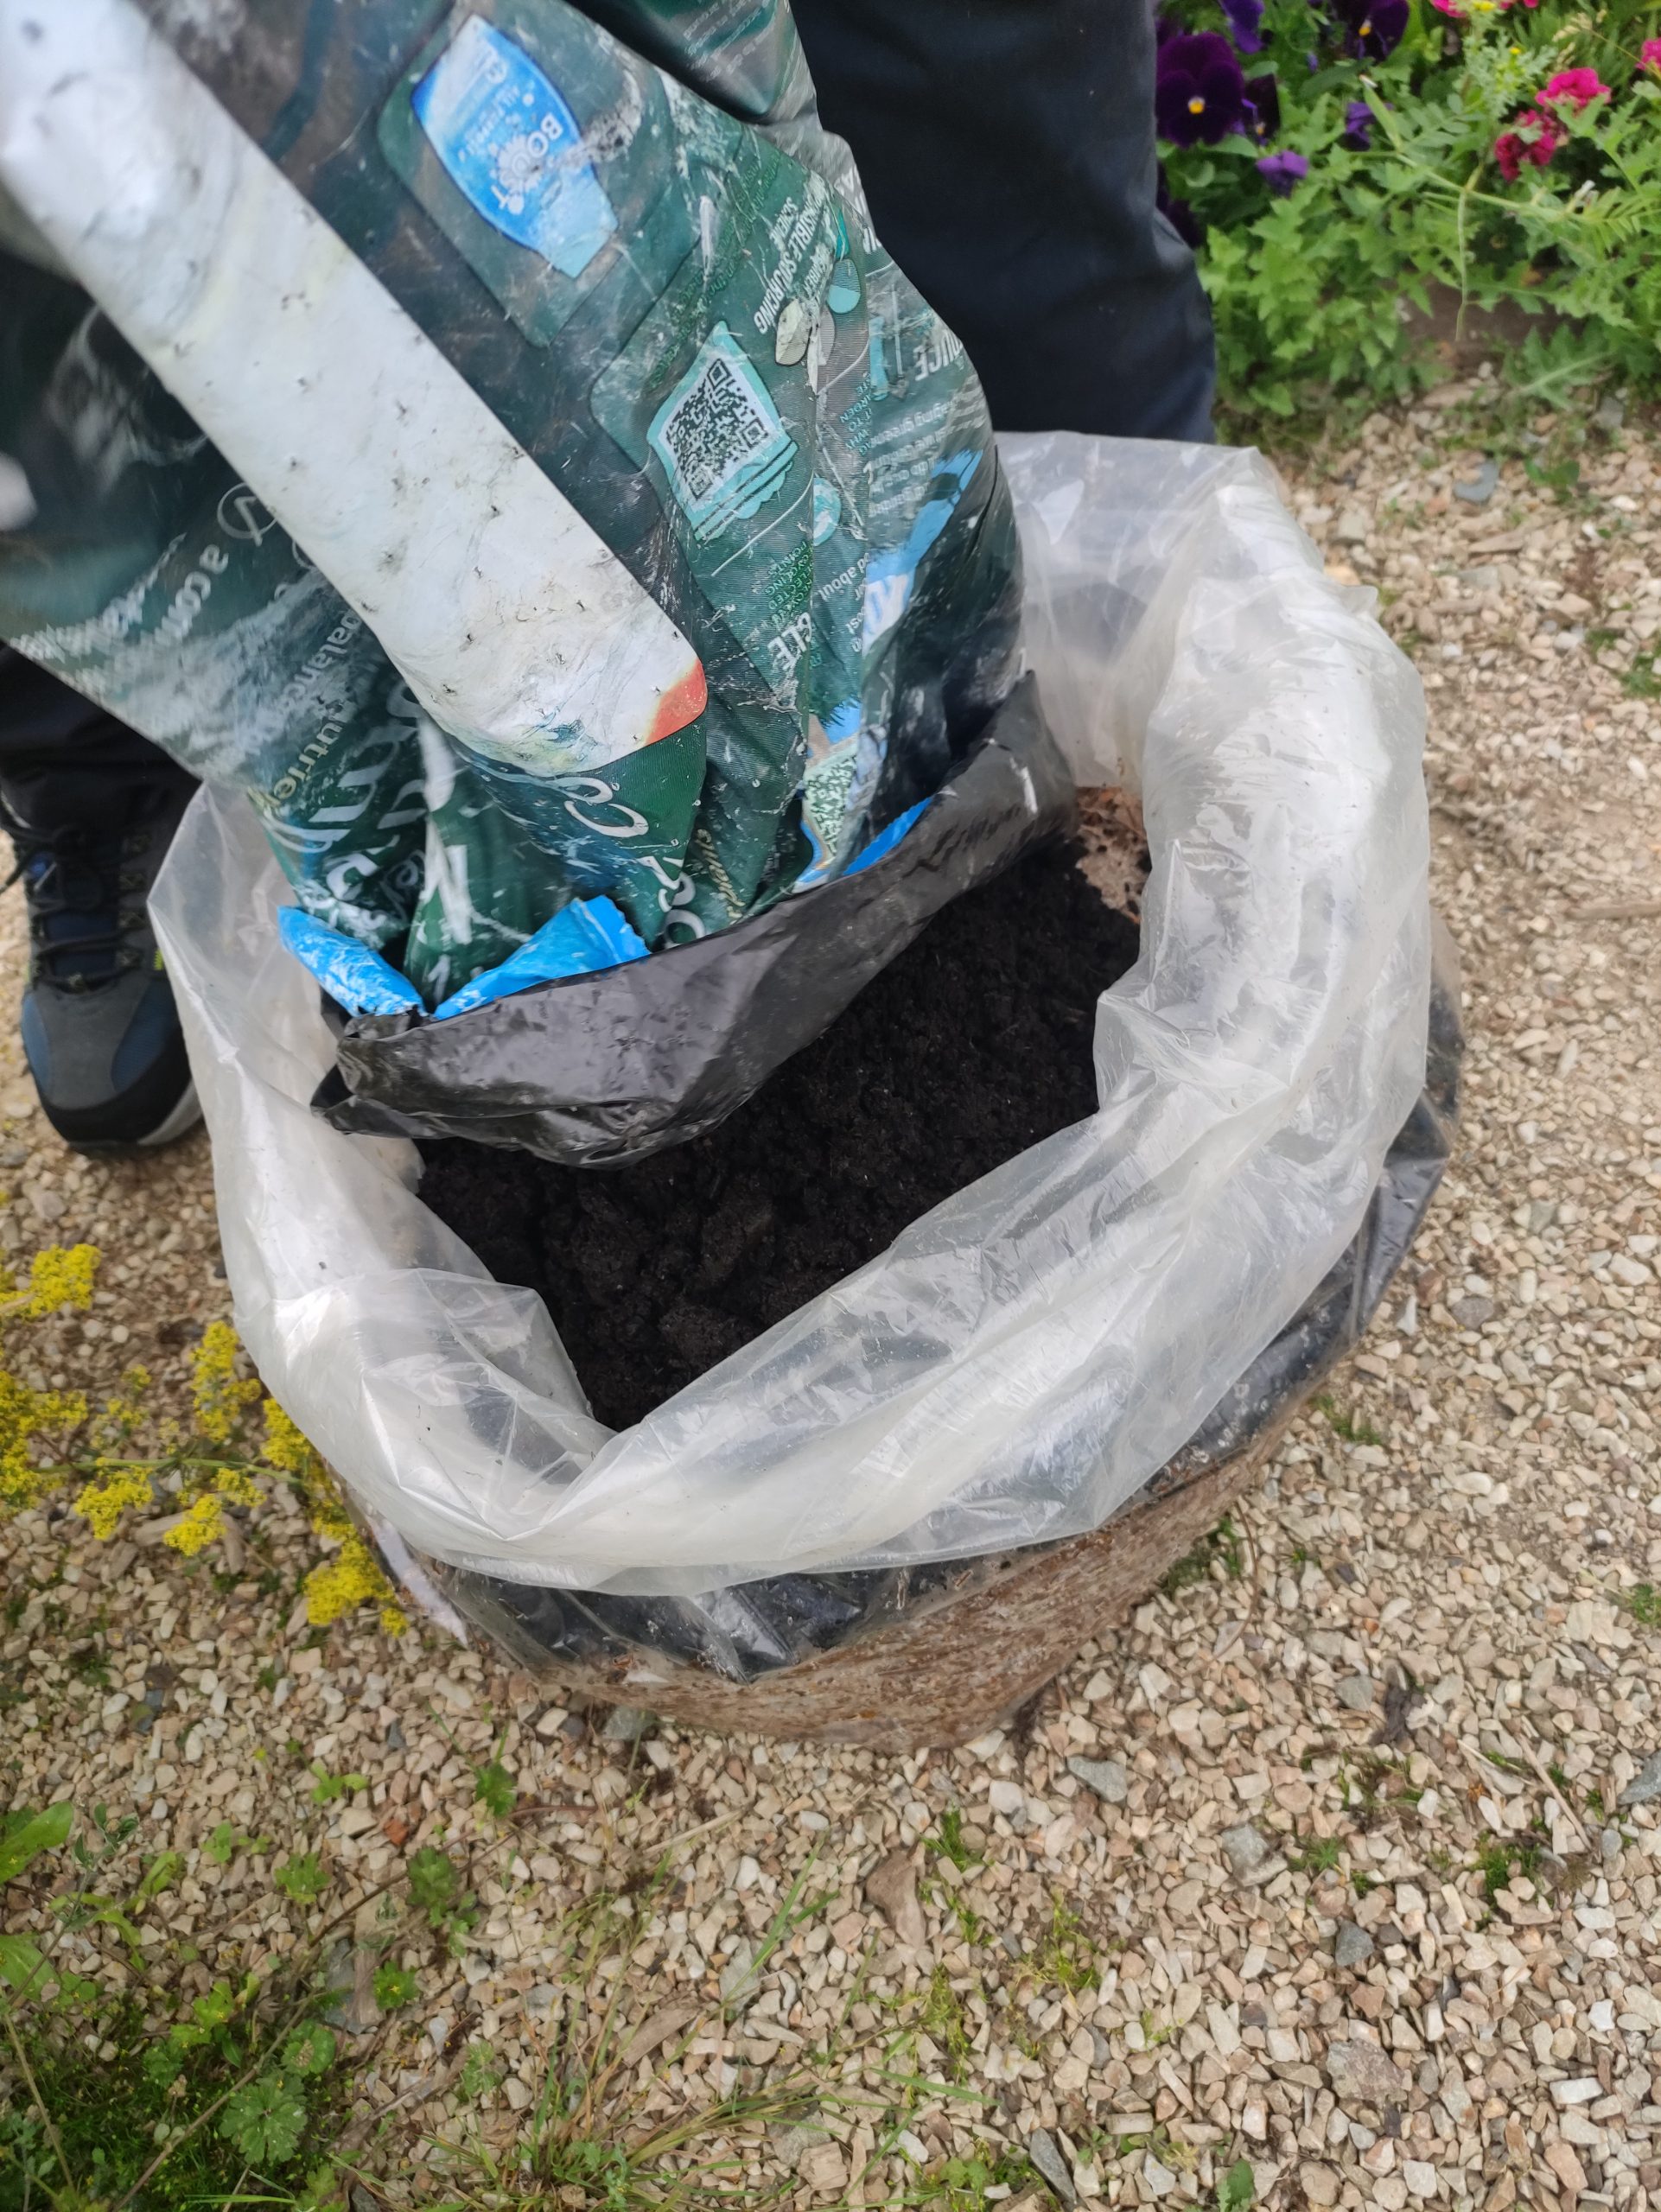
Mushroom growing starts with compost, not spores. Ours was built from wheaten or barley straw, horse and poultry manure, and agricultural gypsum, mixed outdoors and left to ferment before moving indoors for pasteurisation. Once the compost was ready, spawn was introduced under carefully controlled conditions: sterilised grain inoculated in laboratory settings, then grown on at around 25 degrees. It takes about two weeks for that spawn to germinate, and every degree of temperature, every percentage point of humidity, matters.
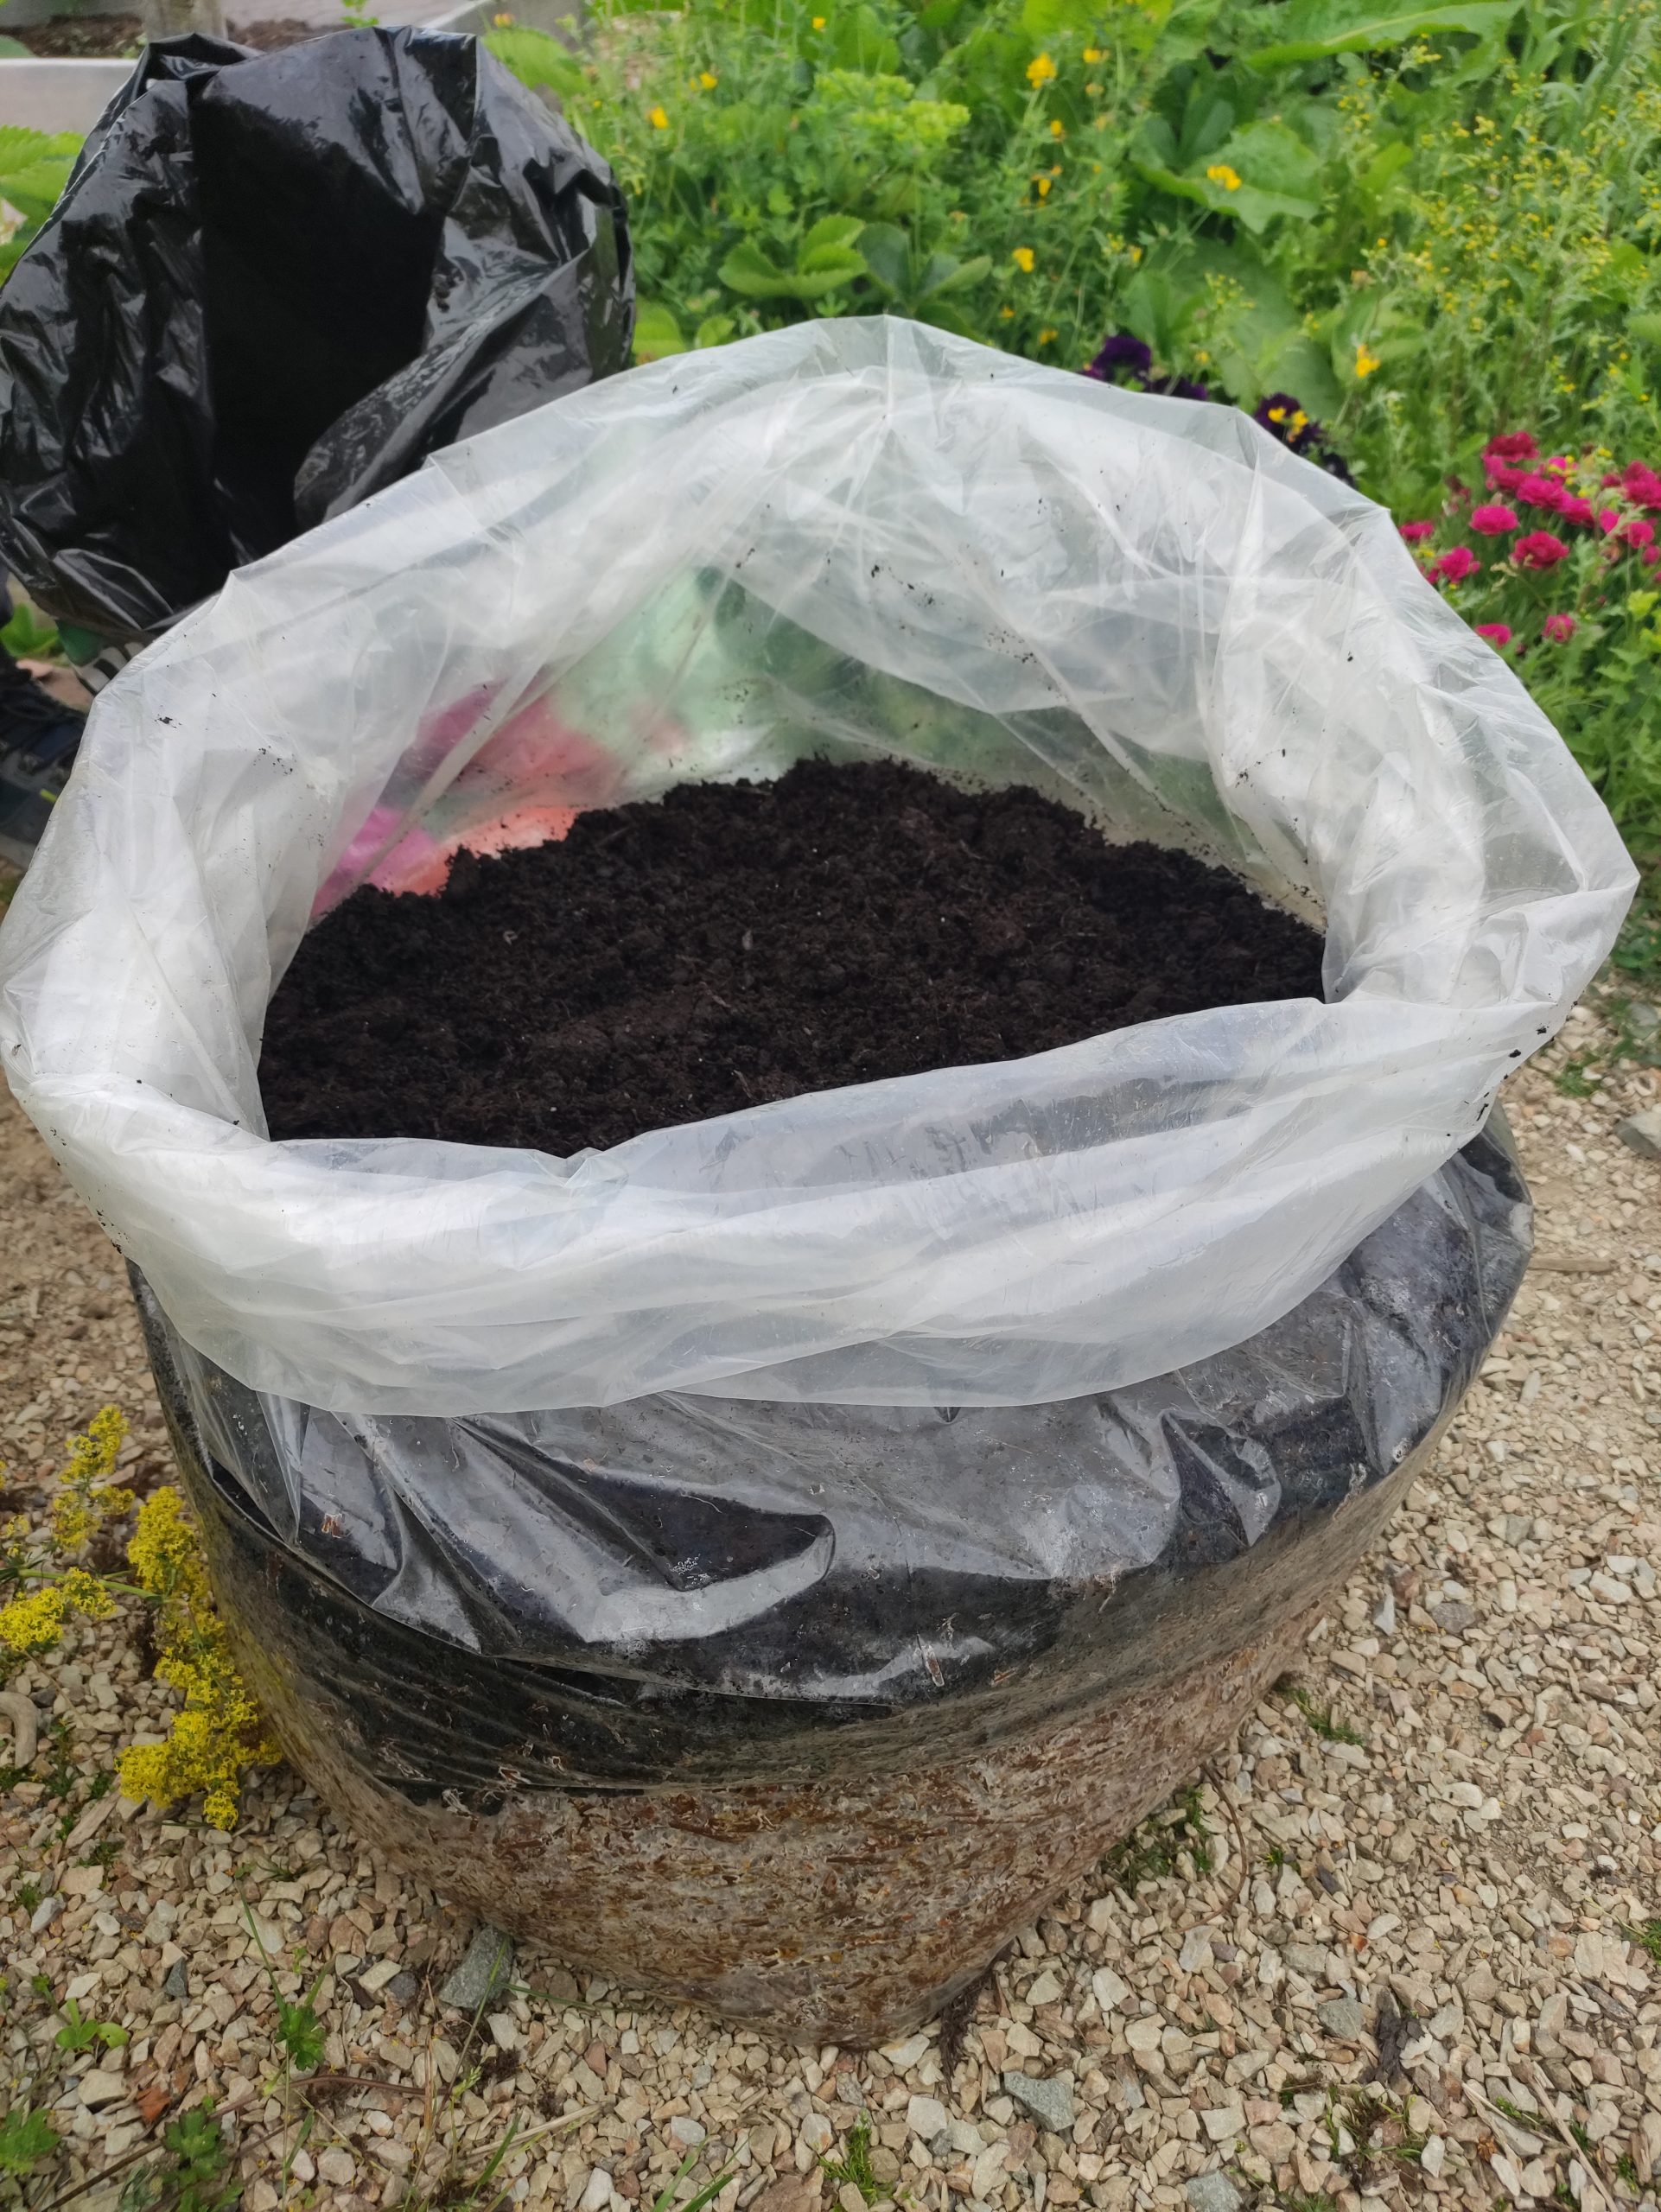
Building a Small Polytunnel to Control the Elements
Commercial mushroom growing runs on serious infrastructure: full polytunnels, precise climate control, and staff tending the crop around the clock. For the workshop, Peter built something far simpler in the allotments: a small structure of pipes and plastic sheeting, with vents on each side he could open or close by hand. When it got too hot, he watered the inside. When temperatures dropped at night, he added another layer of plastic or a blanket. No thermostat, no automation, just constant attention and quick adjustments.
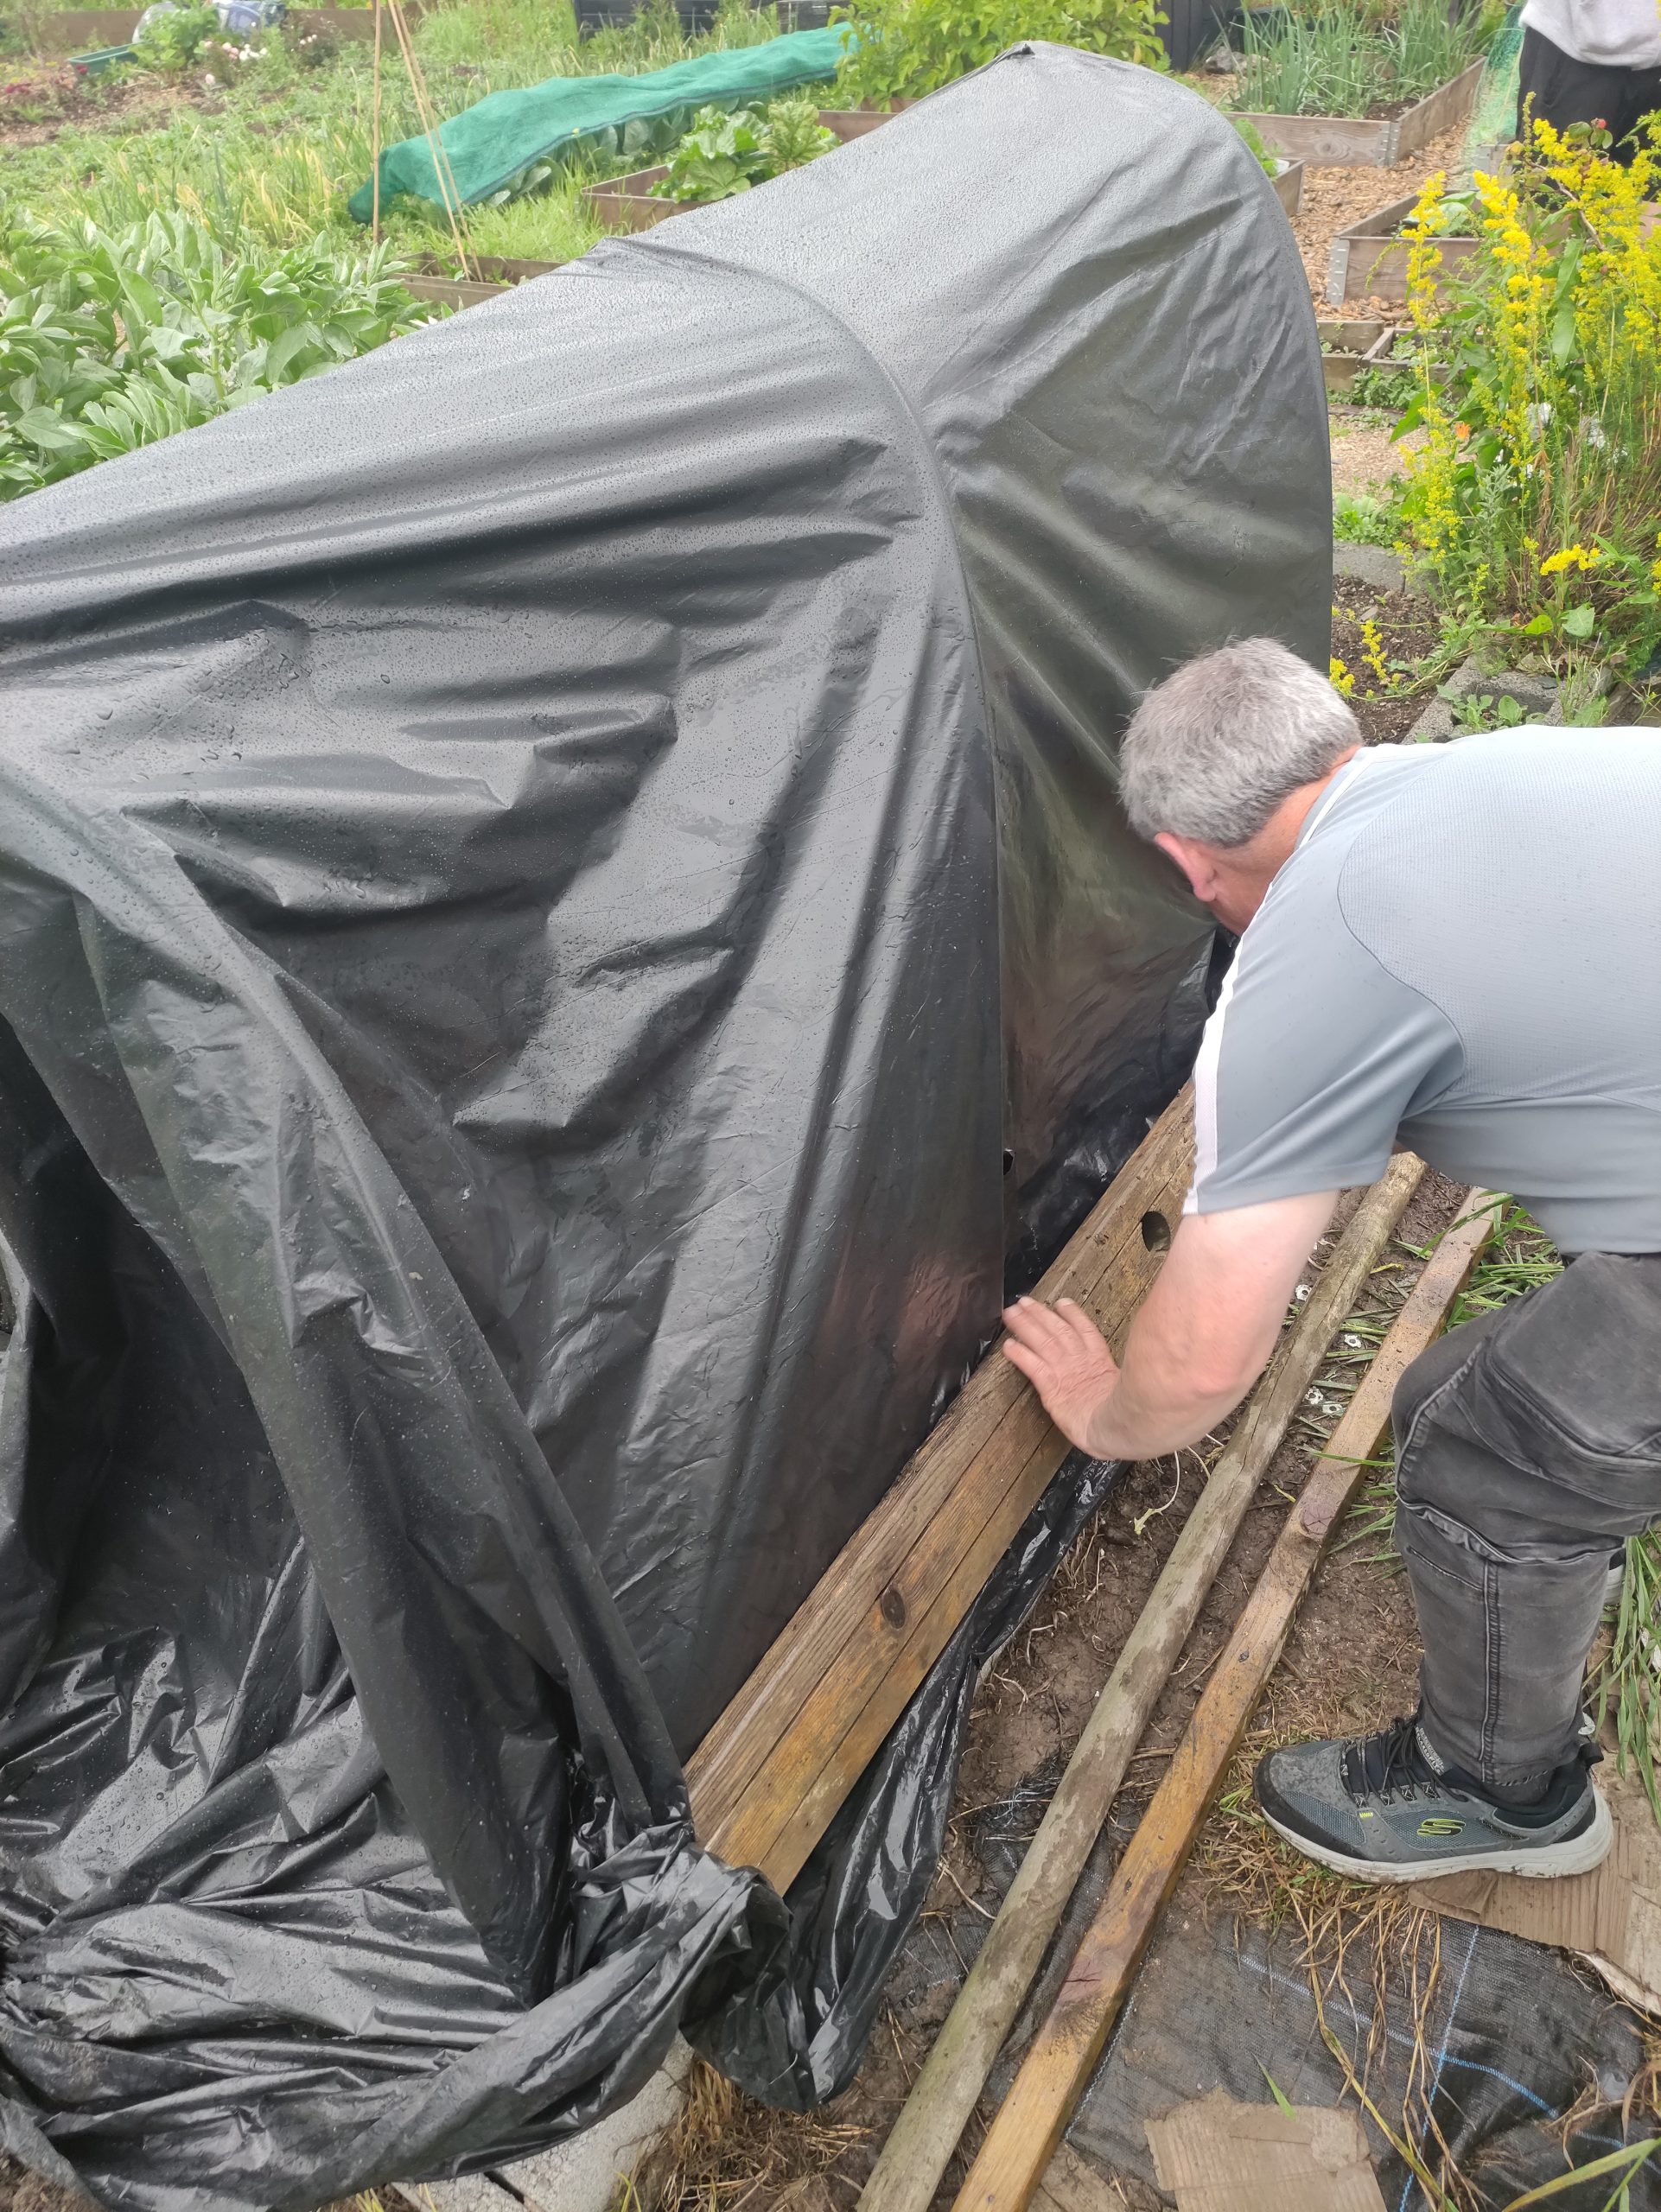
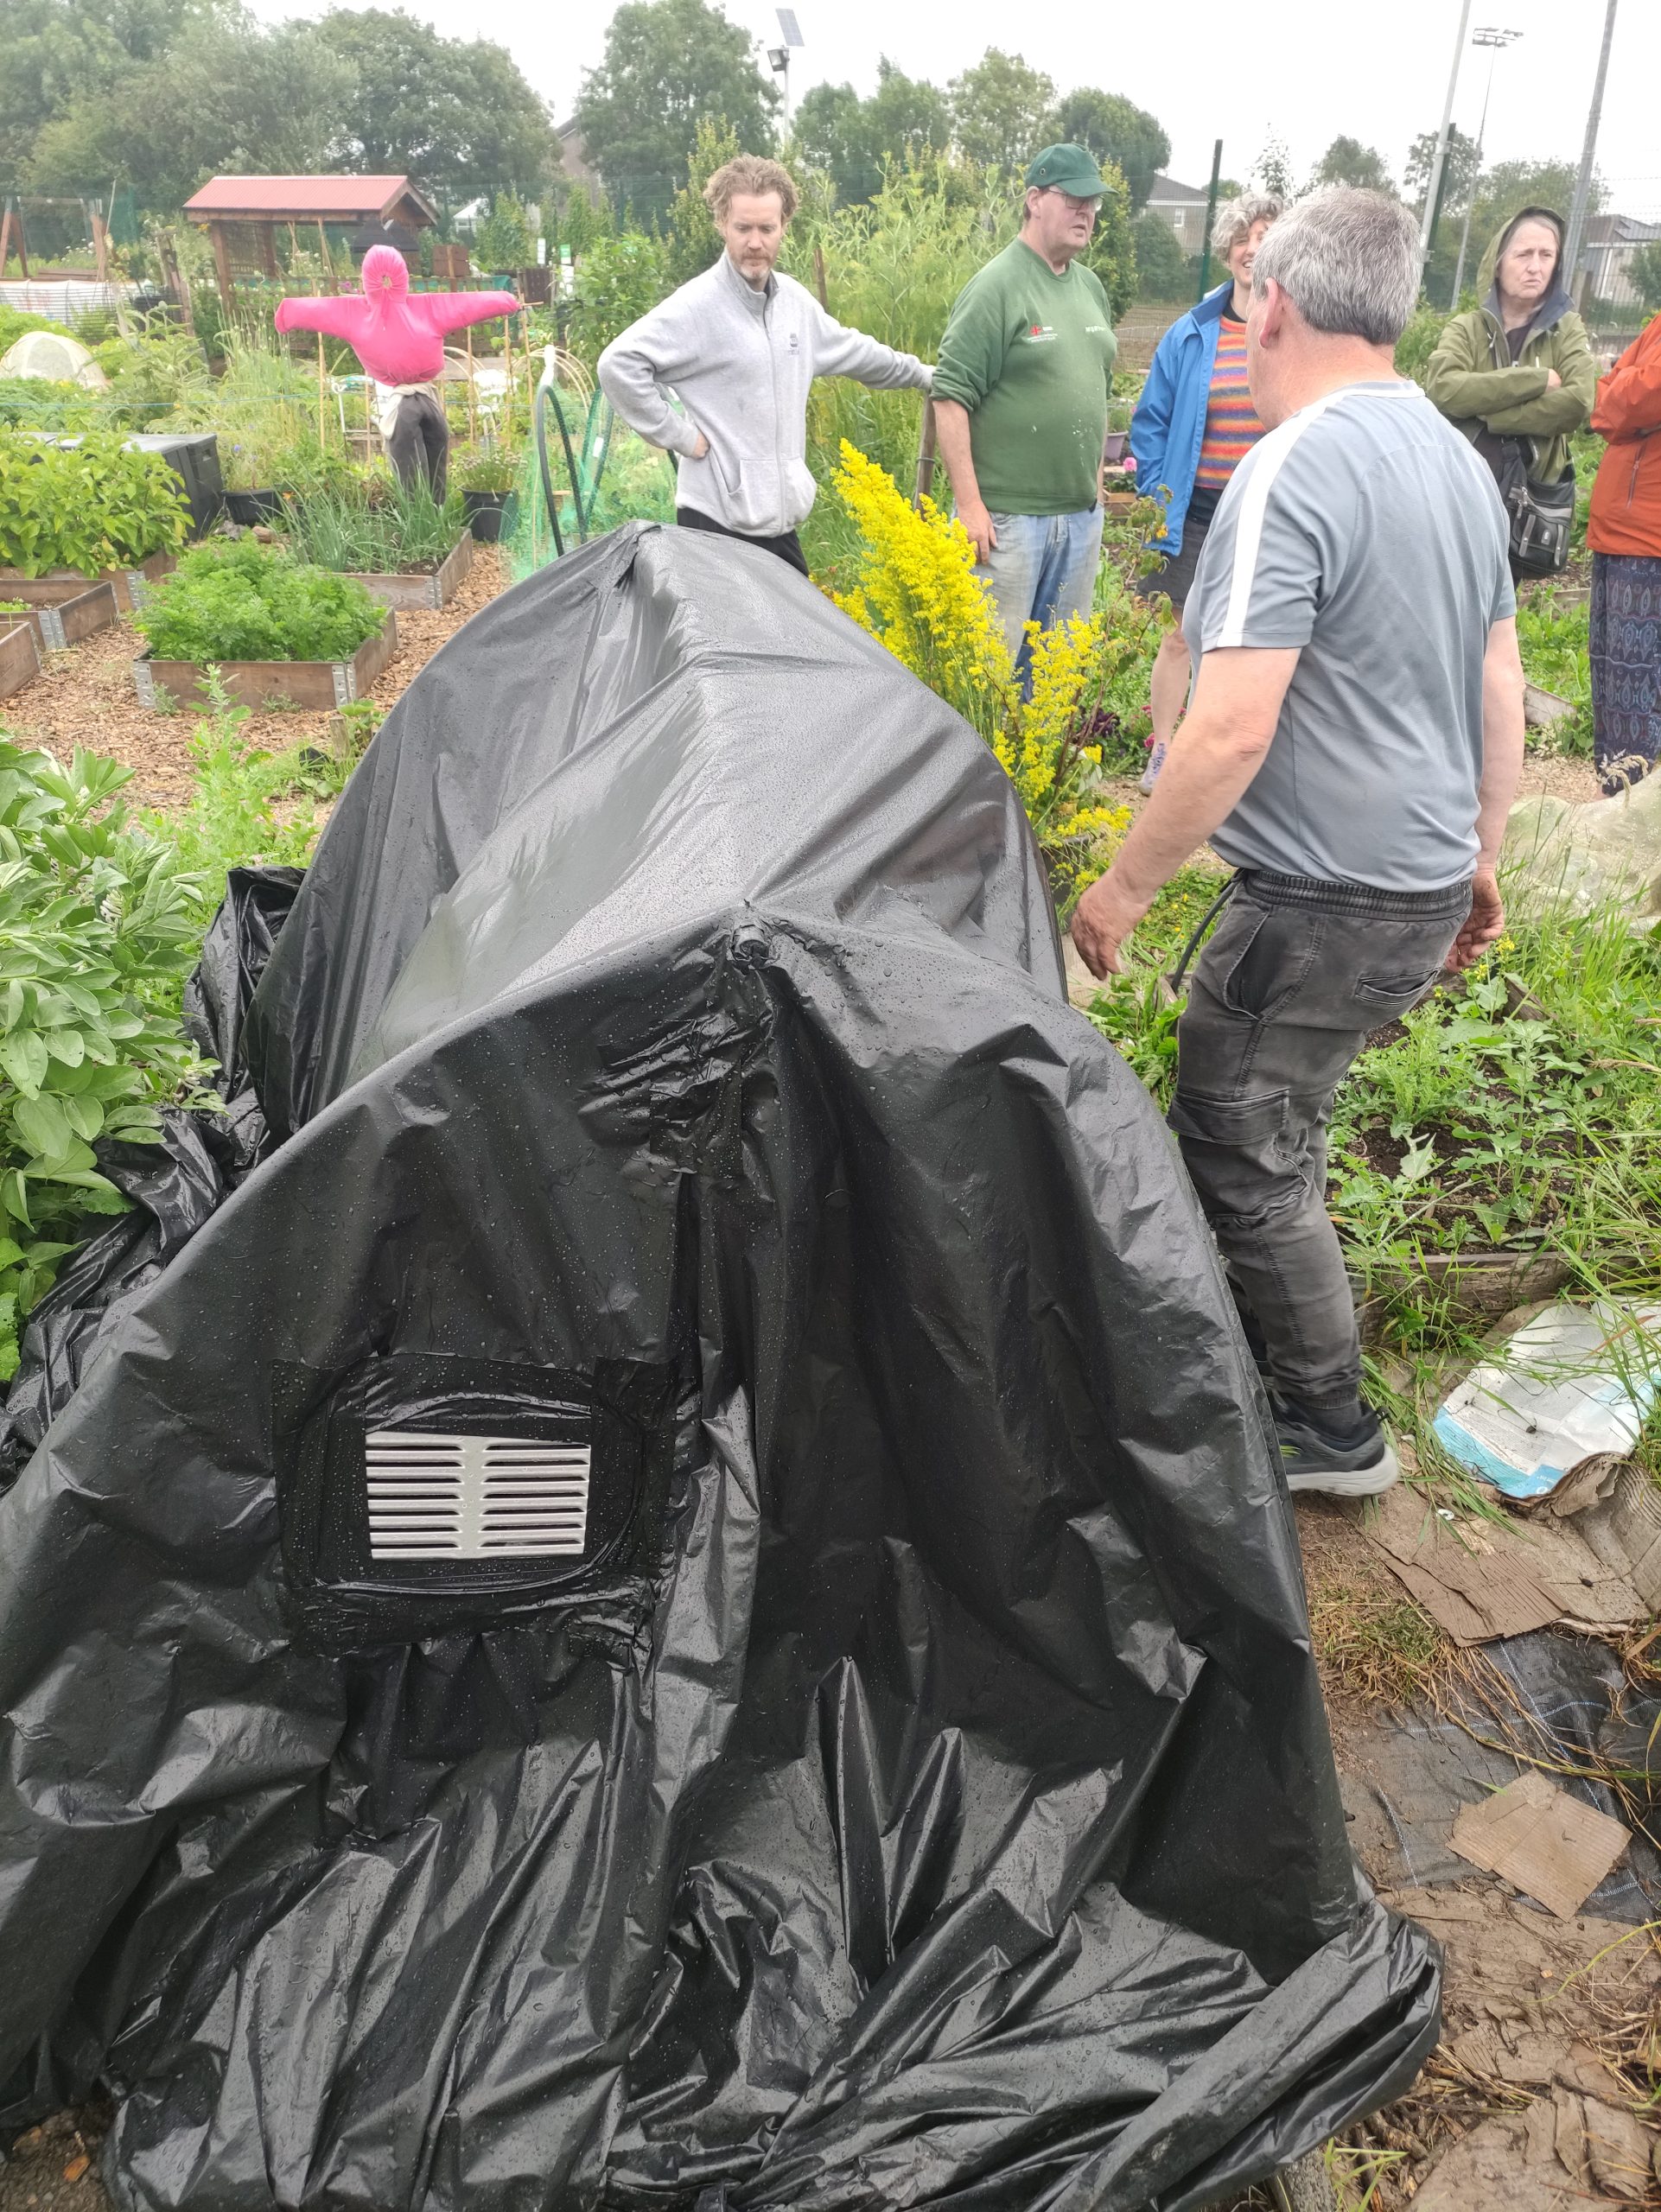
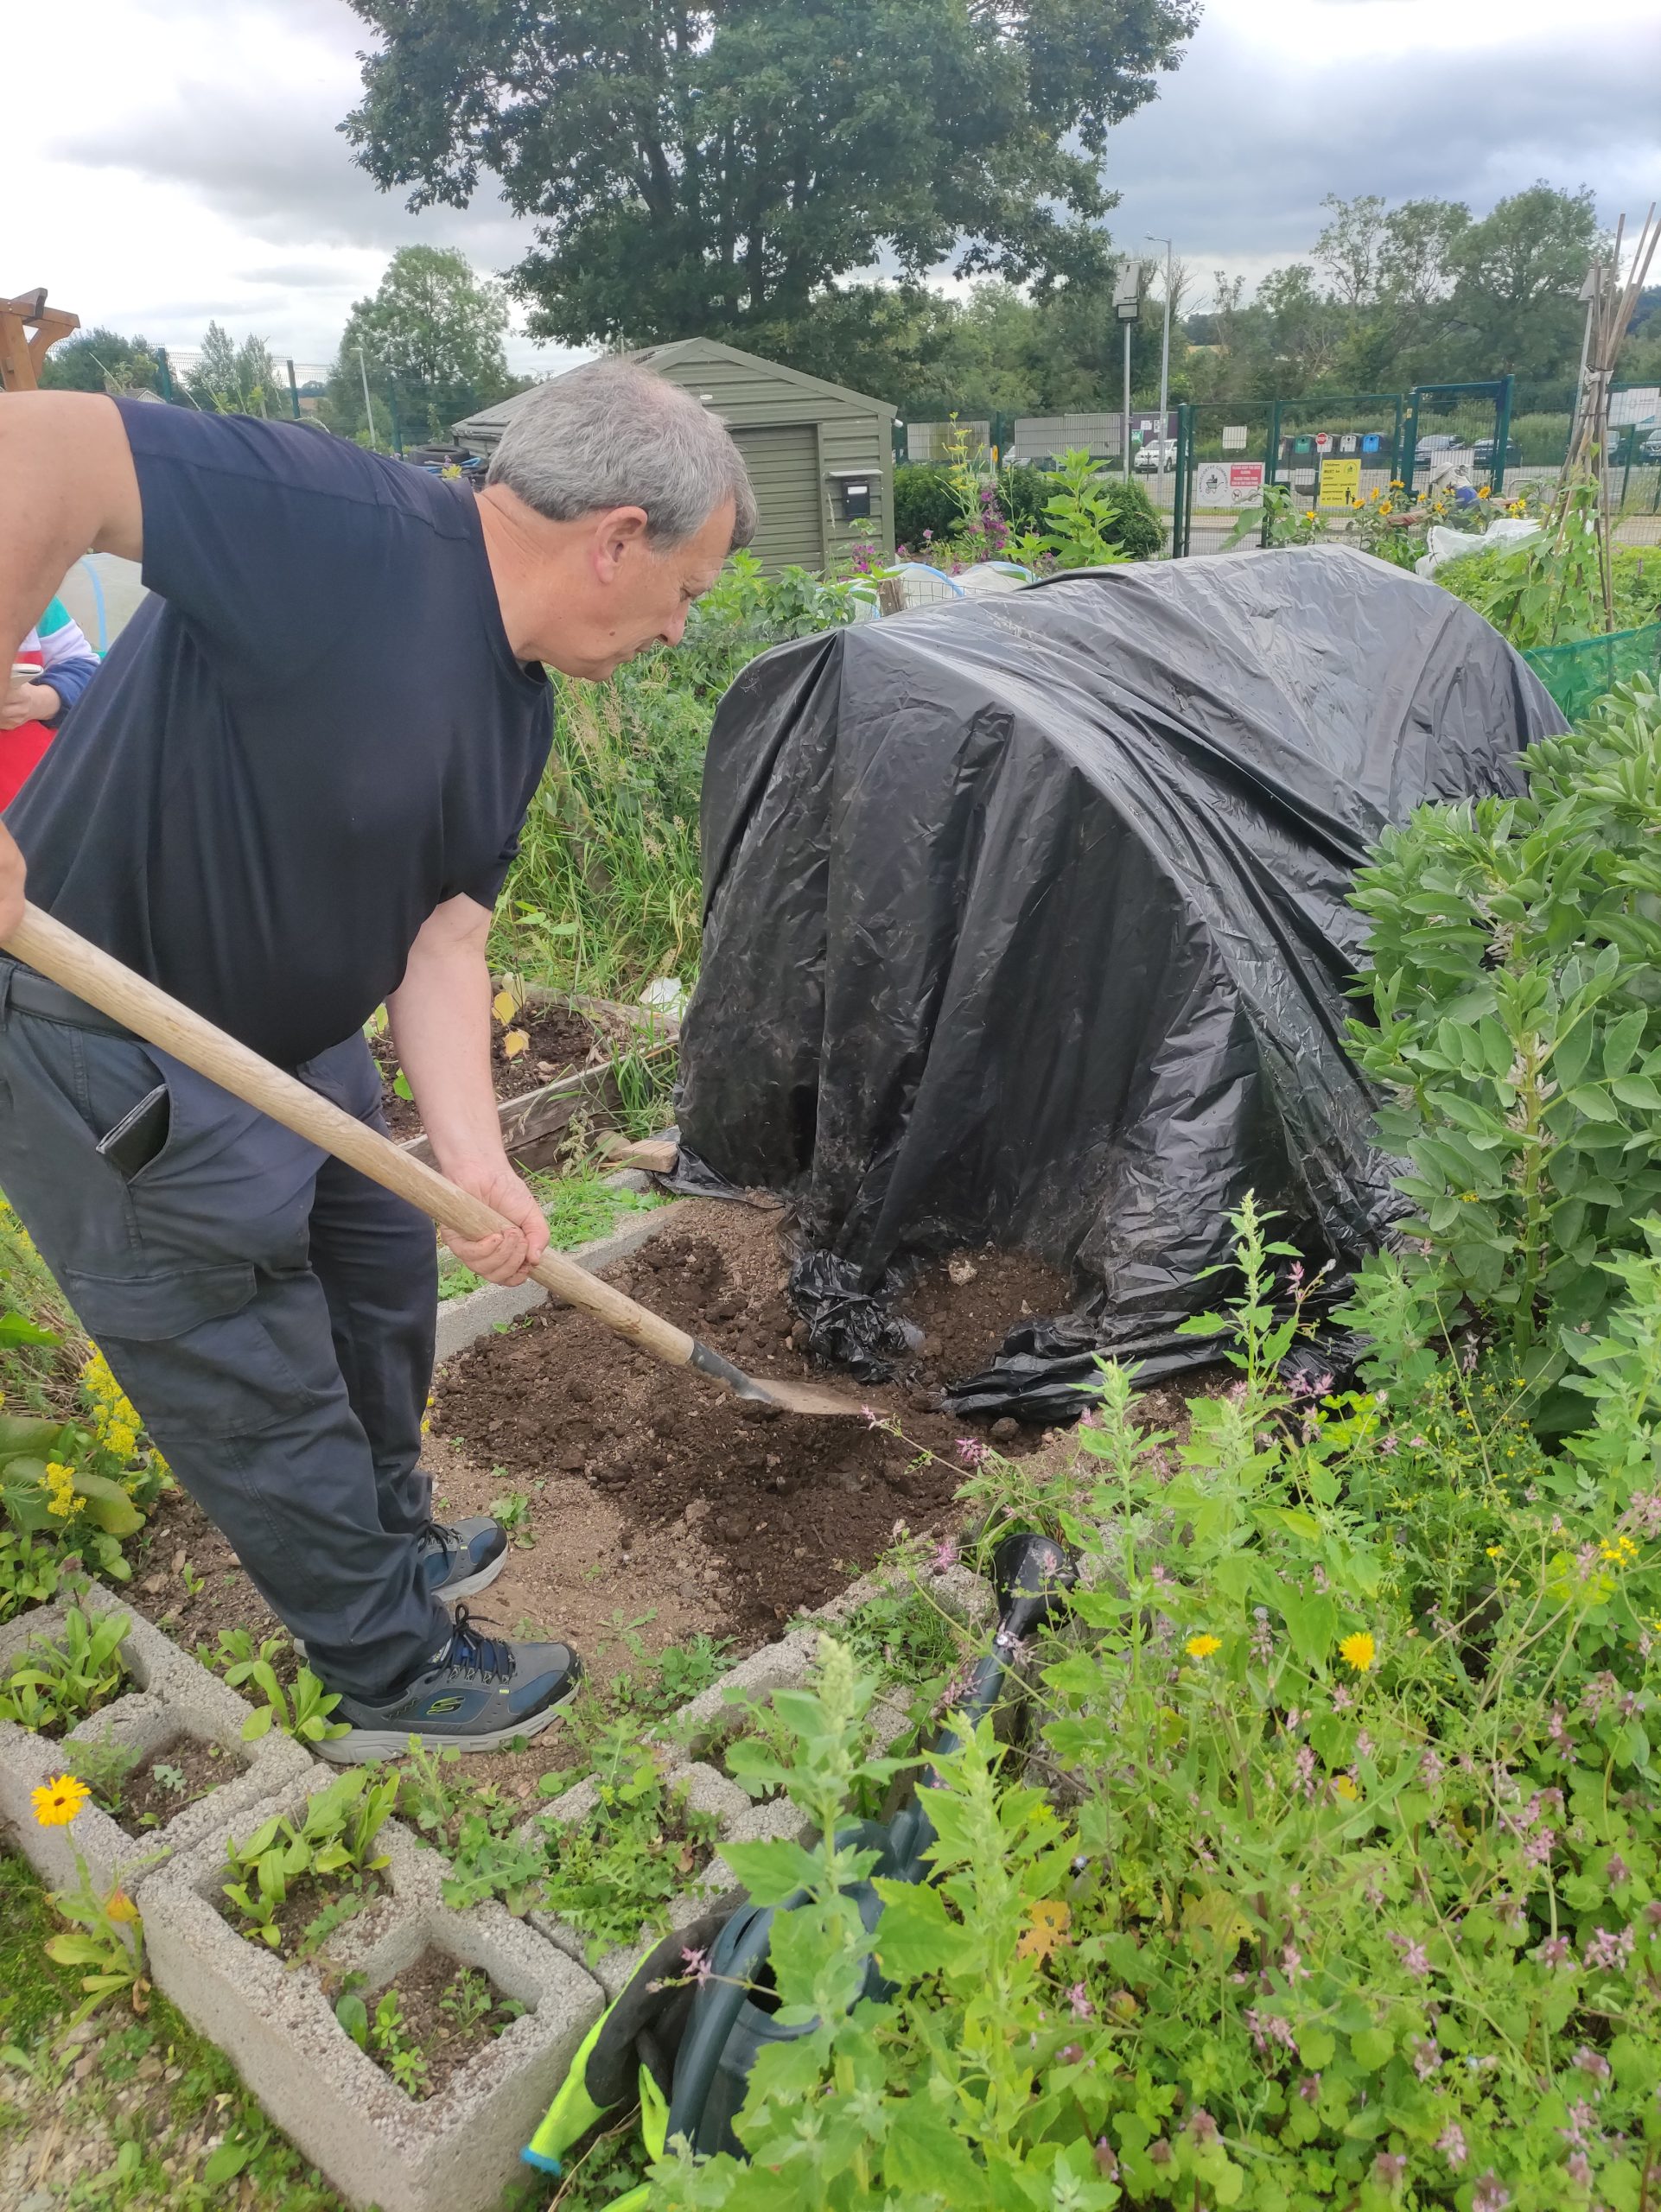
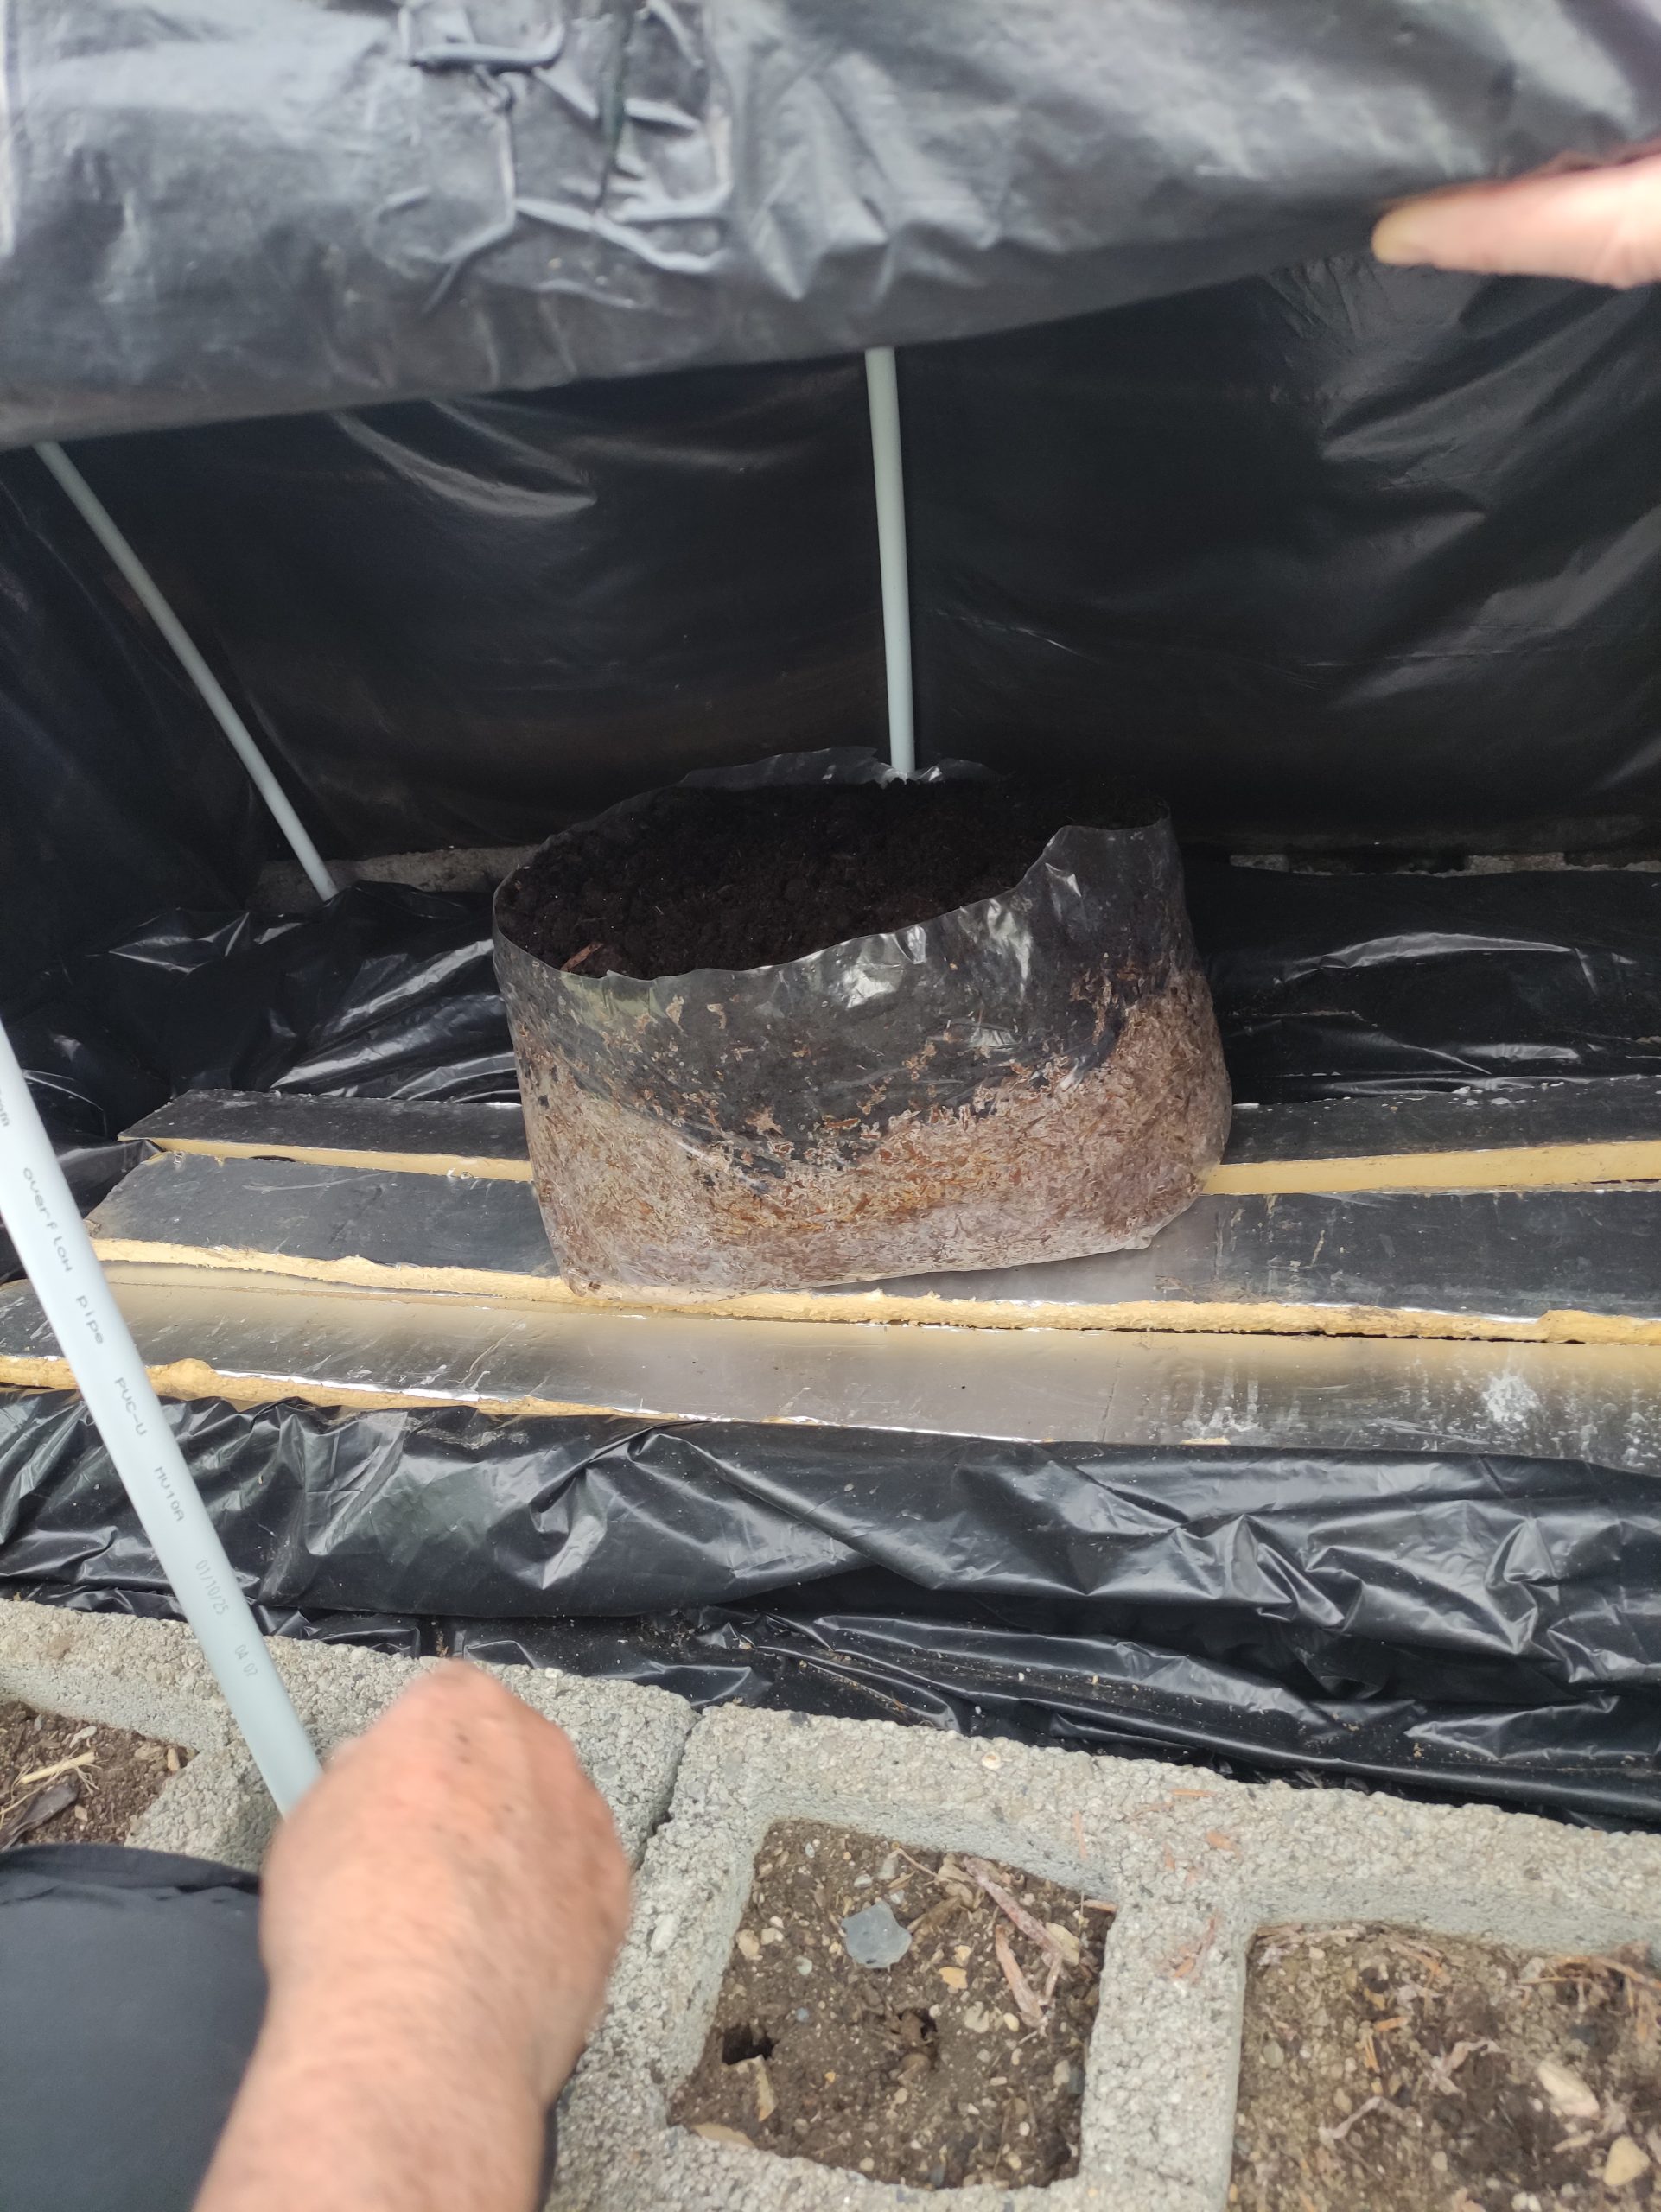
Keeping Pests, Humidity, and Timing Under Control
Once mycelium took hold, the real balancing act began. Humidity needed to sit around 95 percent, with high CO2 and no fresh air let in, and even the watering had to happen in short 15-minute bursts across a narrow 3 to 4 day window so the CO2 levels never dropped too far. Get it wrong and the mushrooms show it fast: too dry and the caps scale, too wet and they blotch. Pests like the scarlet fly don’t harm mushrooms directly, but their eggs infest a crop and ruin its appearance. Clean, sanitisable surfaces and prompt removal of spent compost kept our small setup on track.
The mycelium itself behaves like a web threading through the compost. Let it knit too tight and gases can’t move through the compost anymore, which strangles the mushrooms before they even get the chance to form. Managing that balance turned out to be as much feel as it was following instructions.
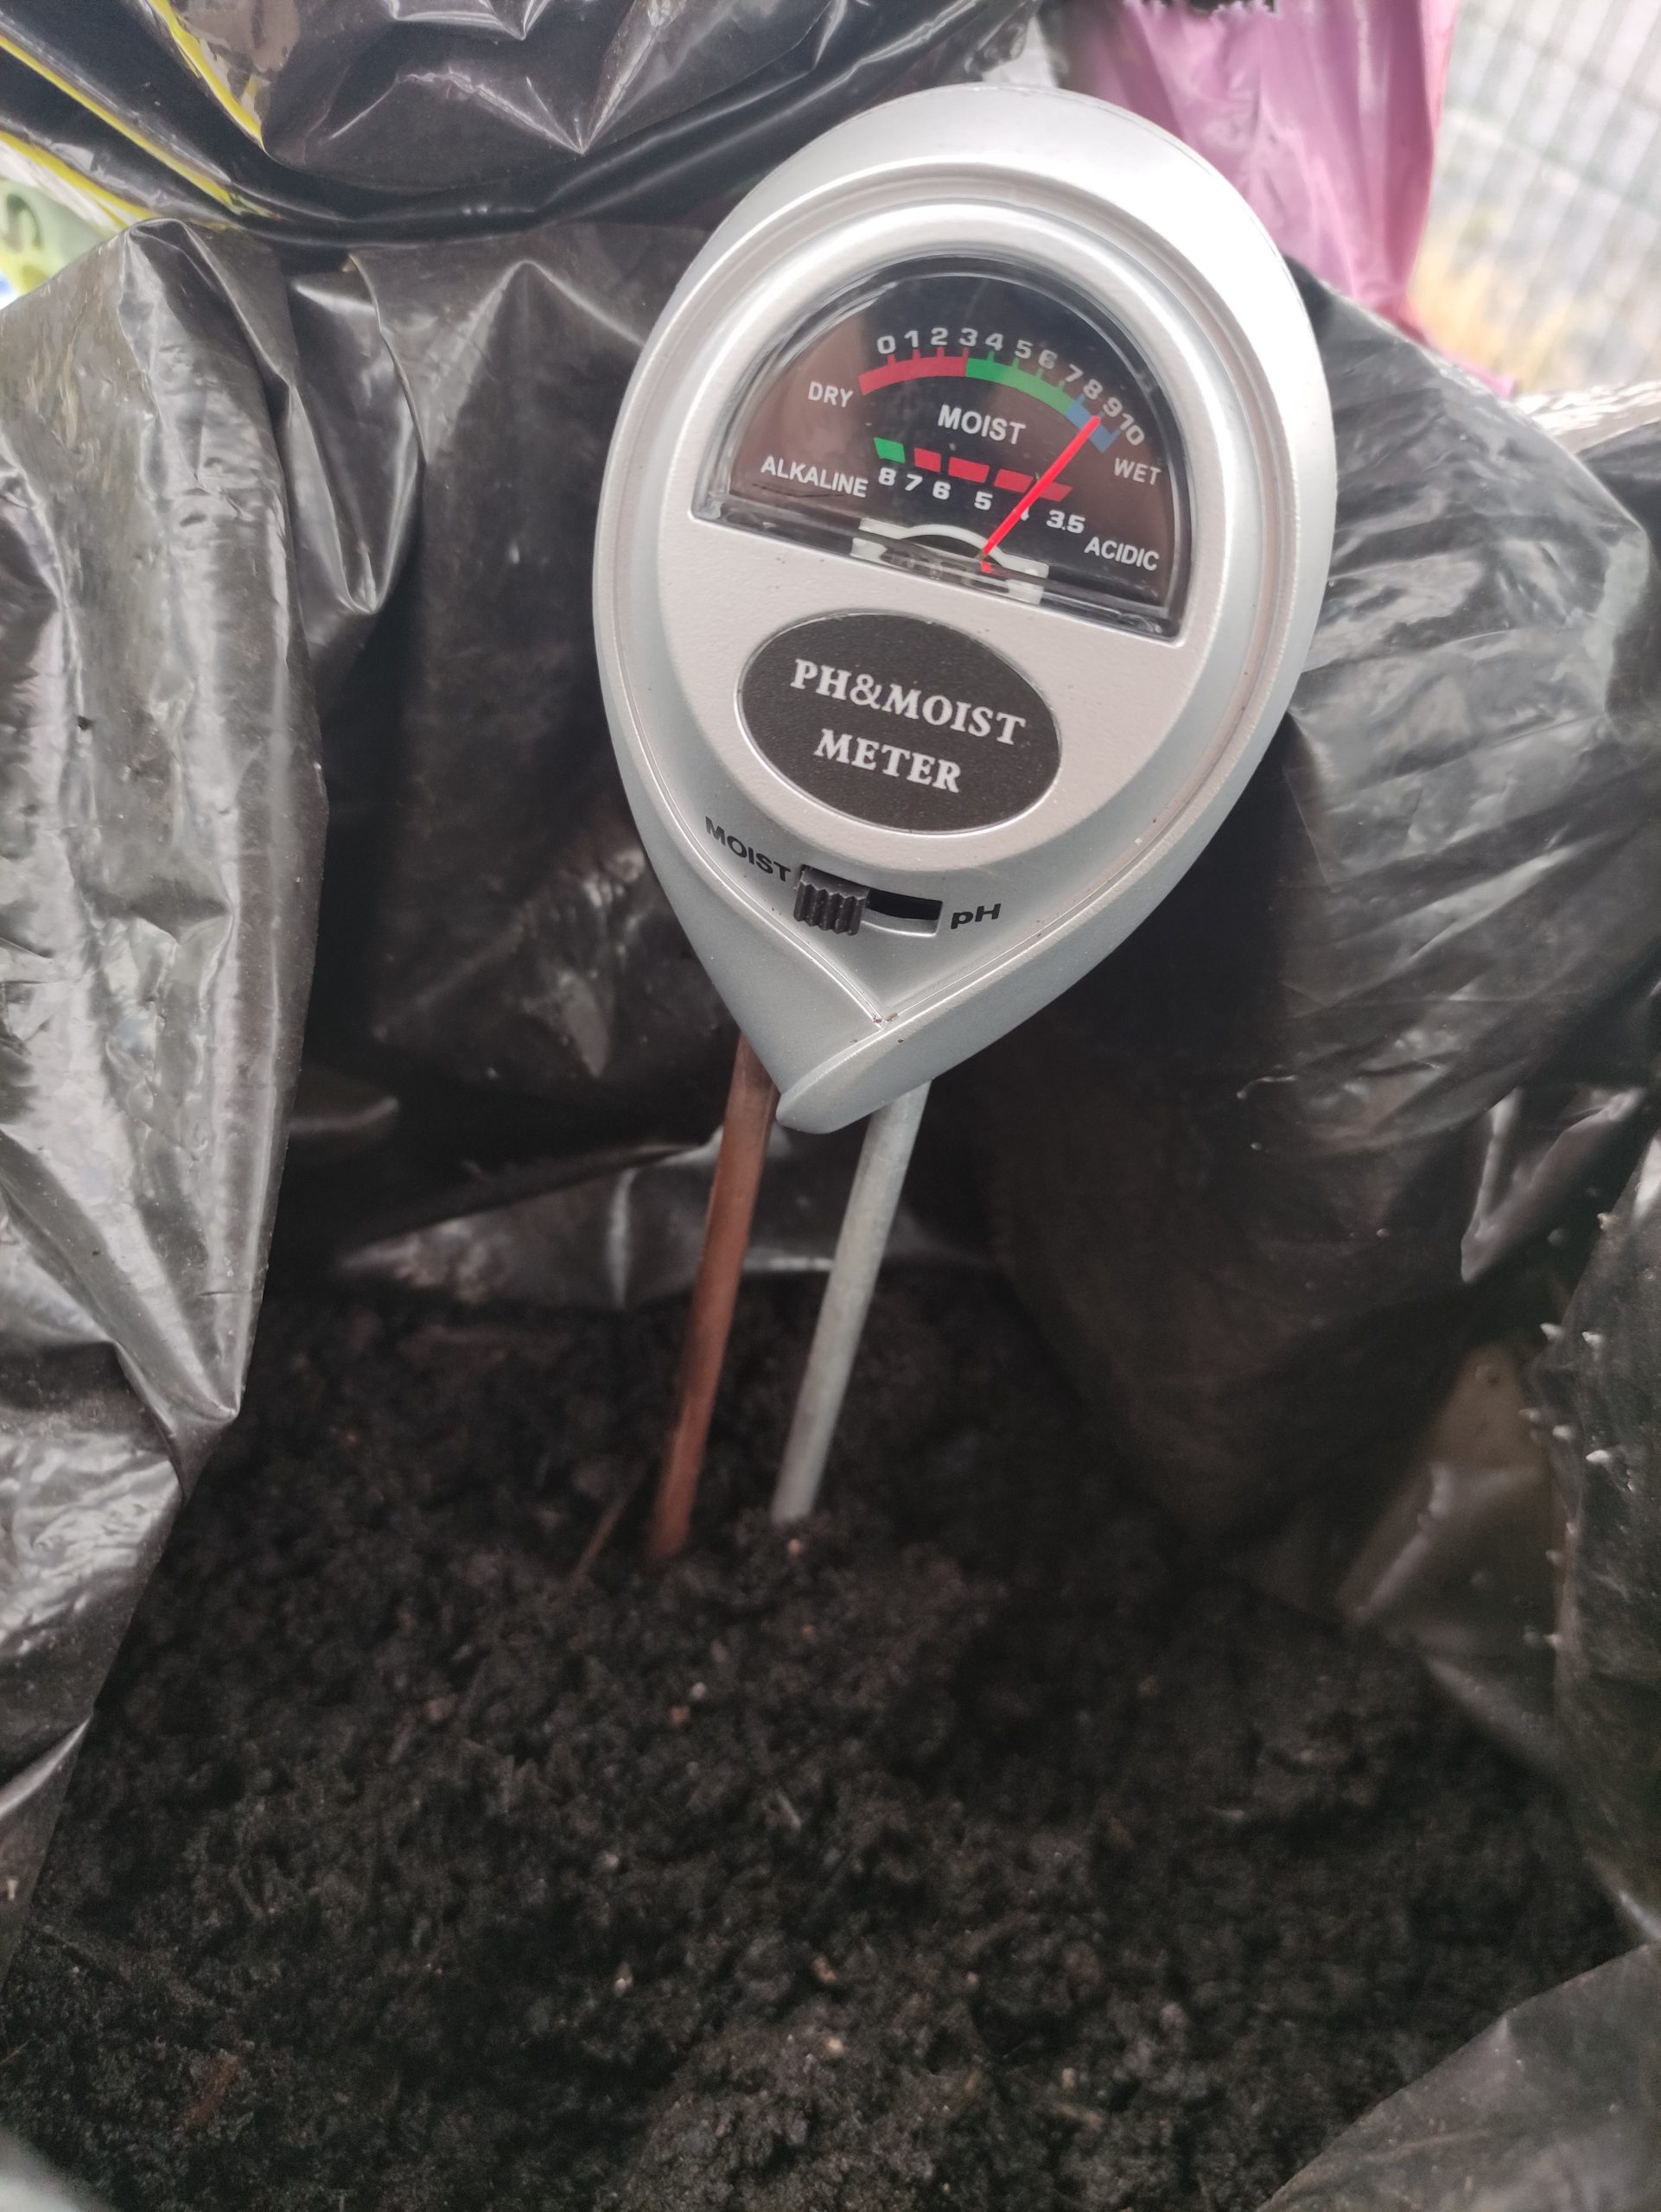
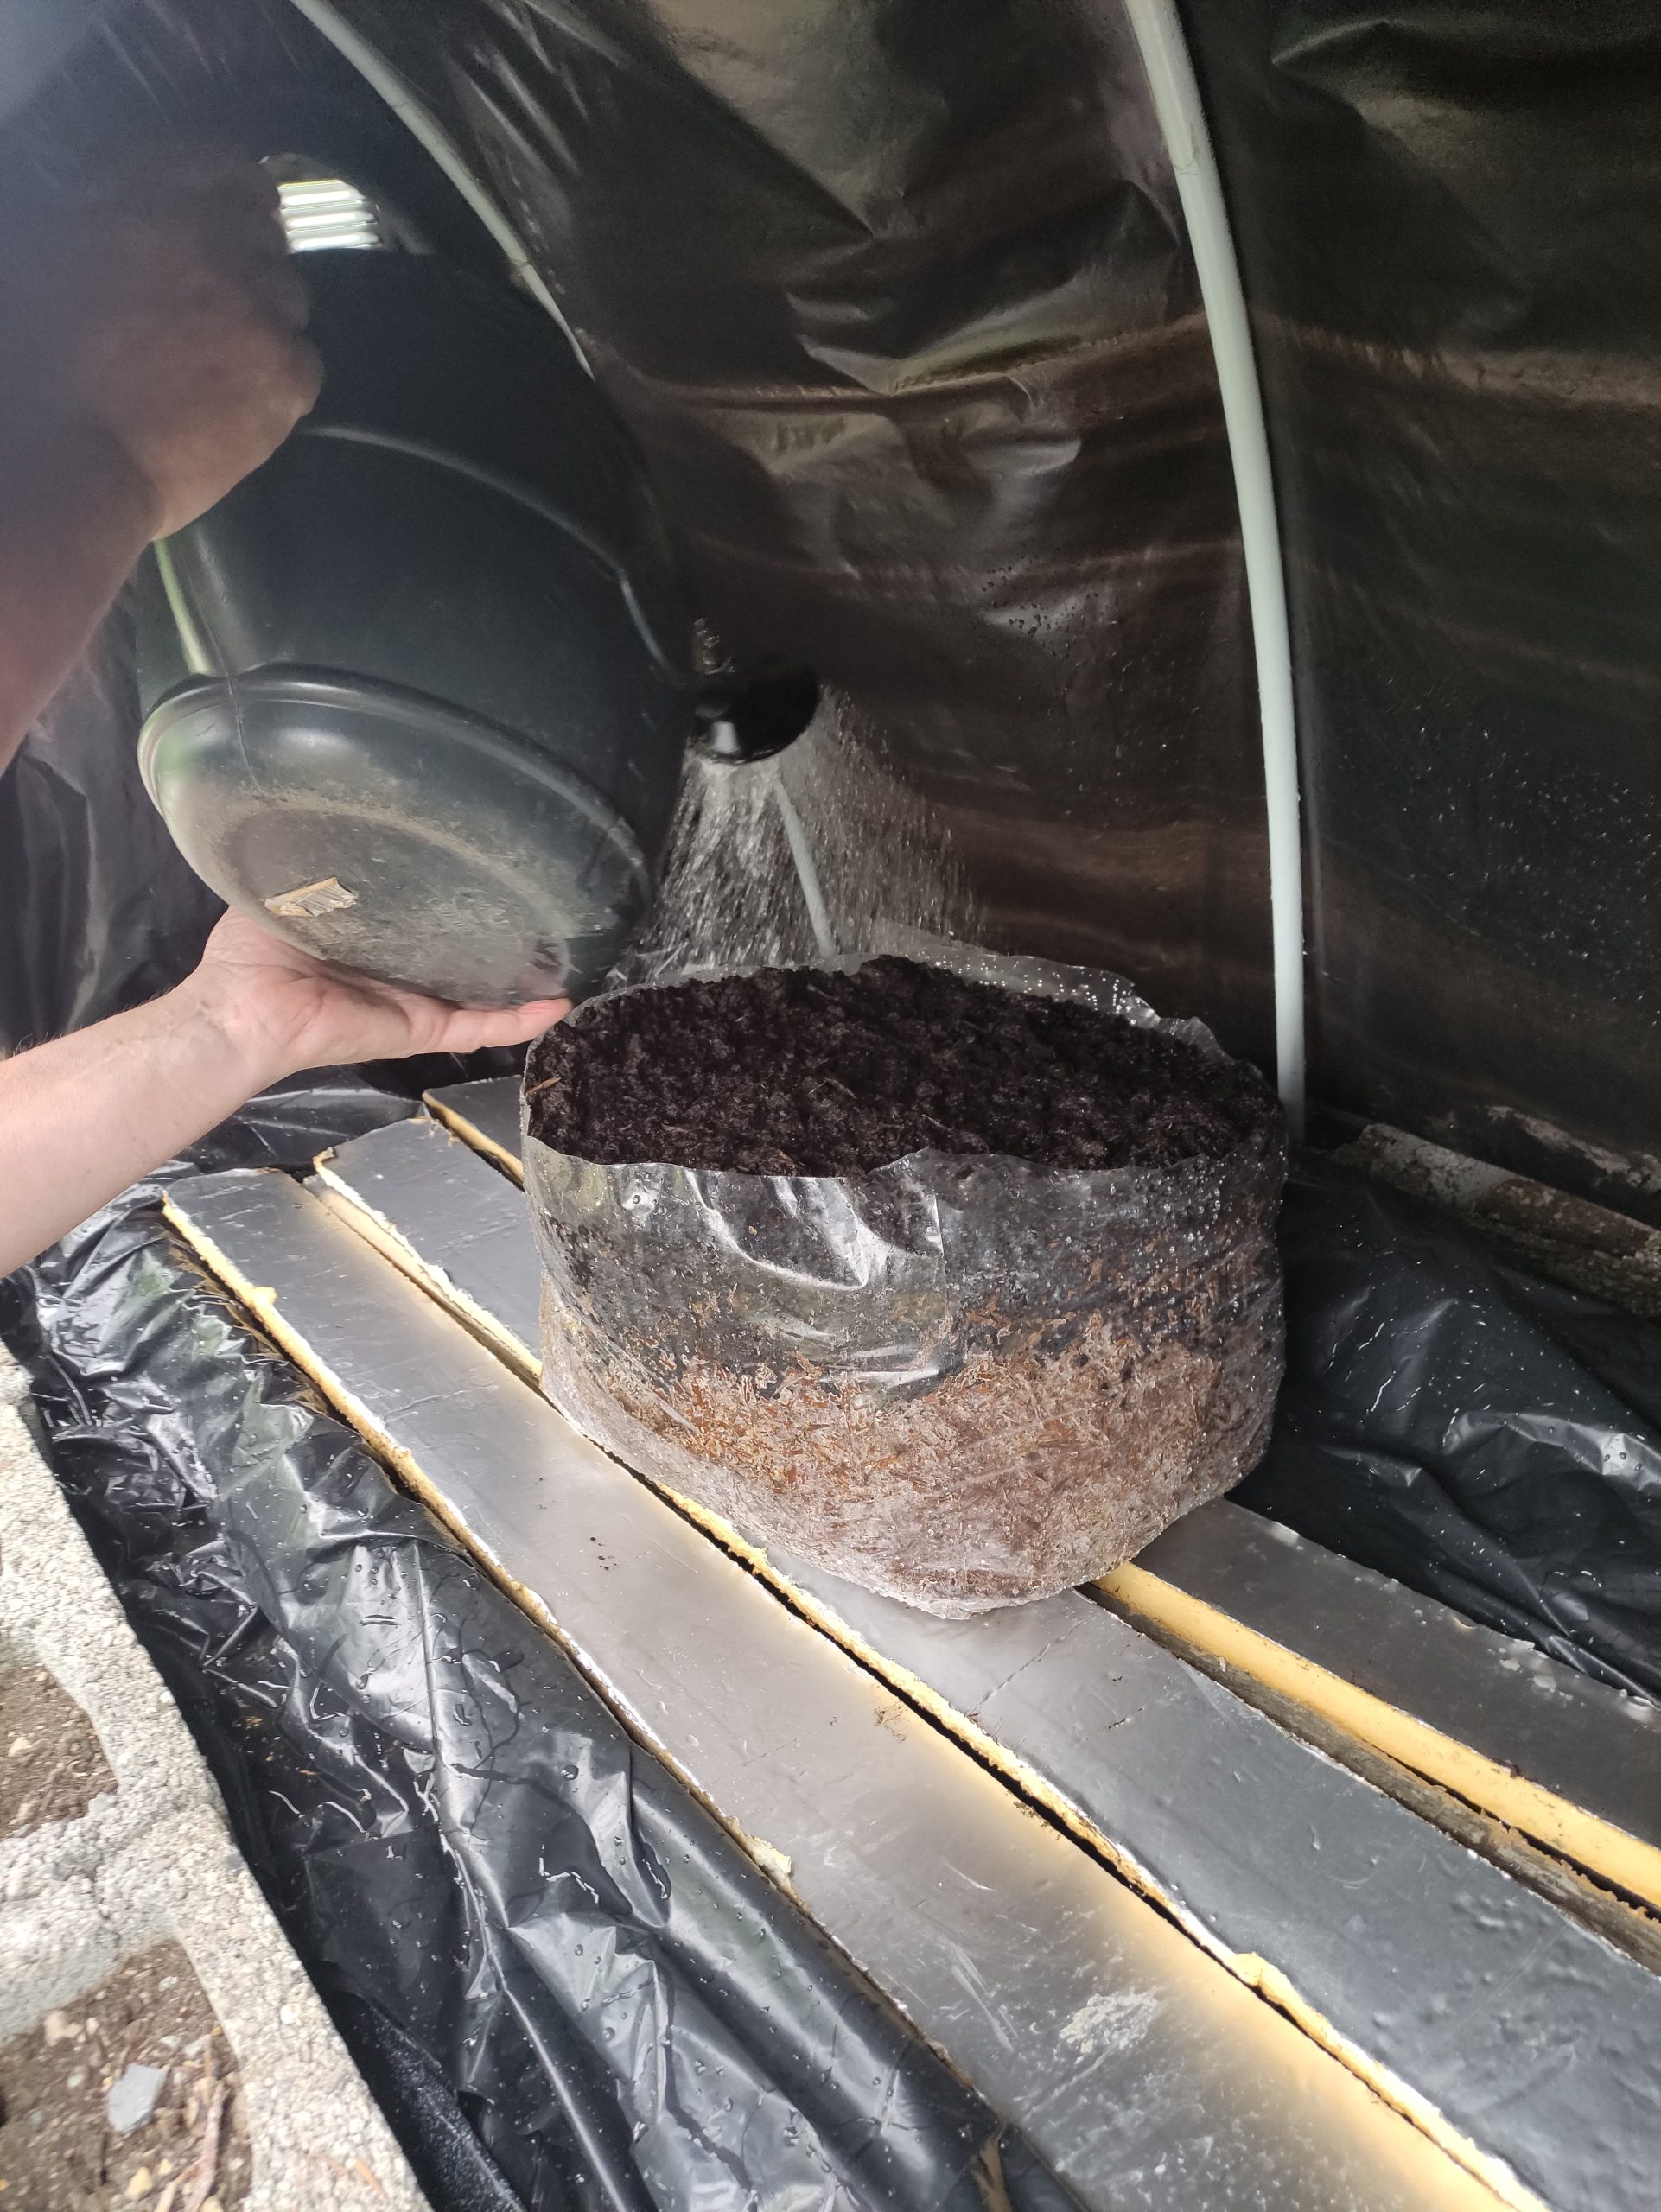
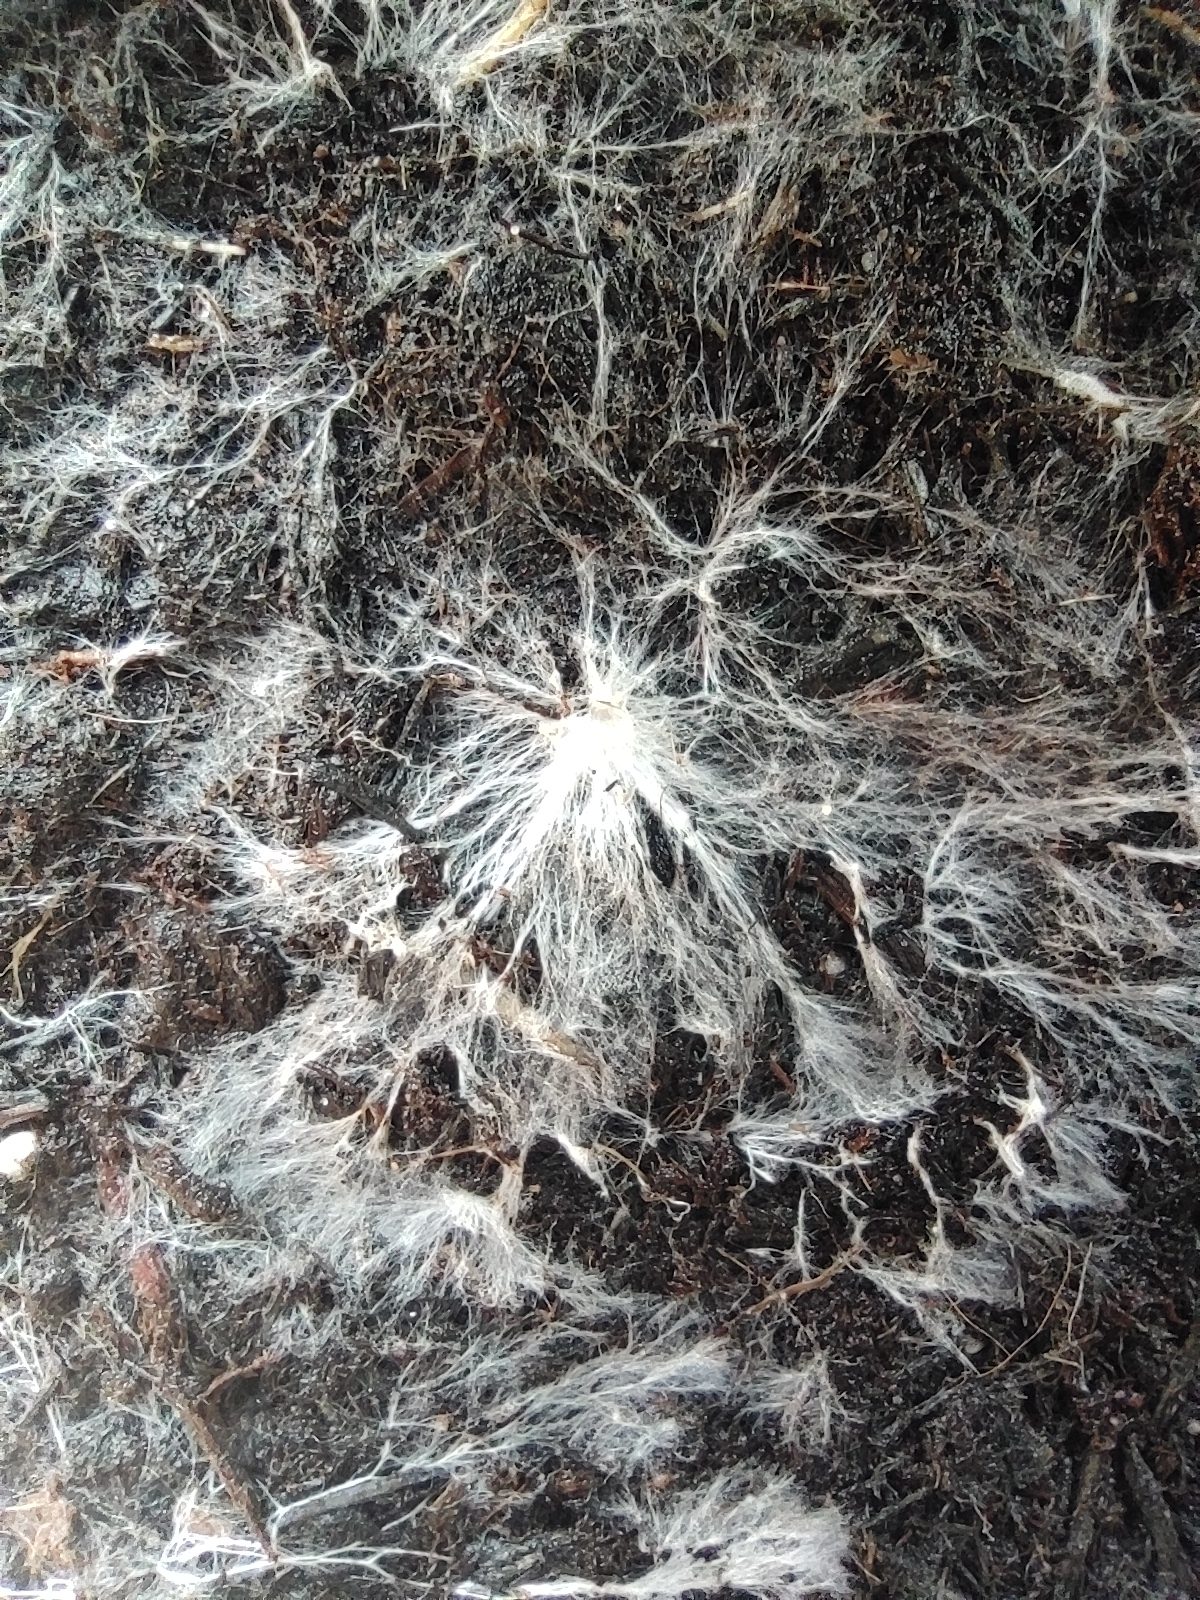
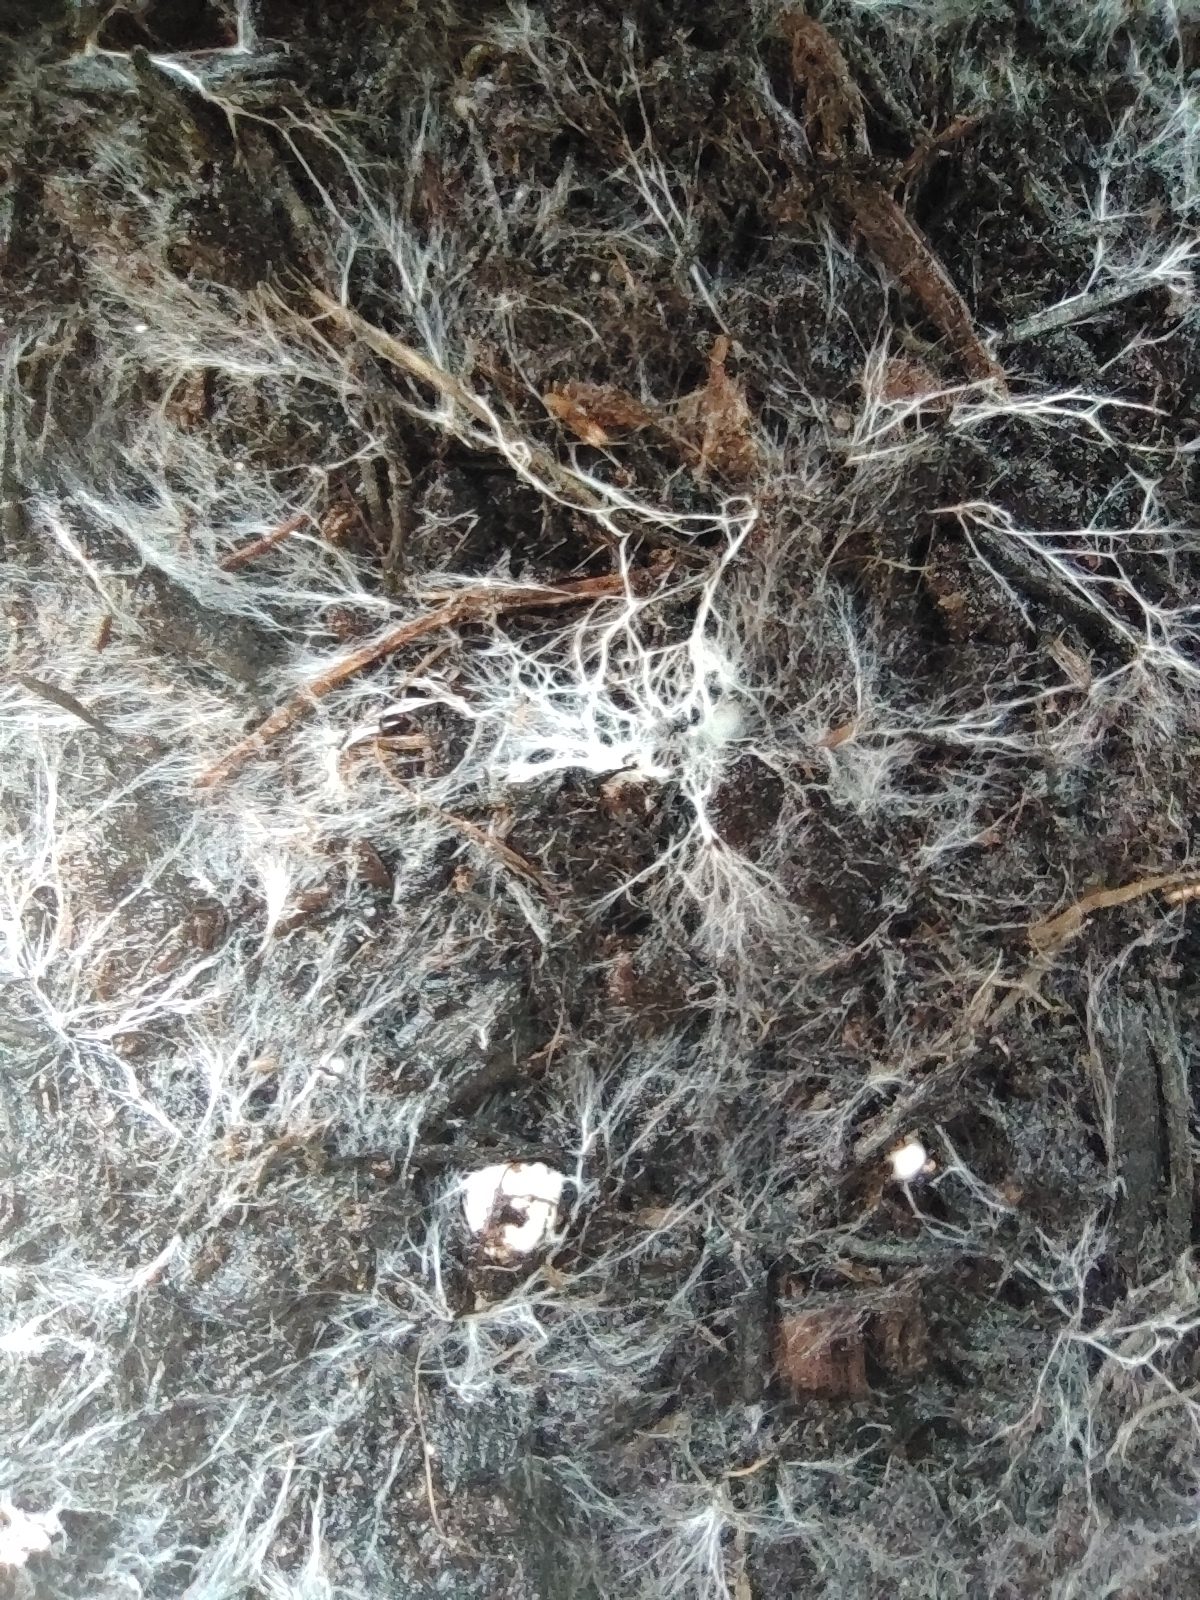
Our First Pins and a Small Victory
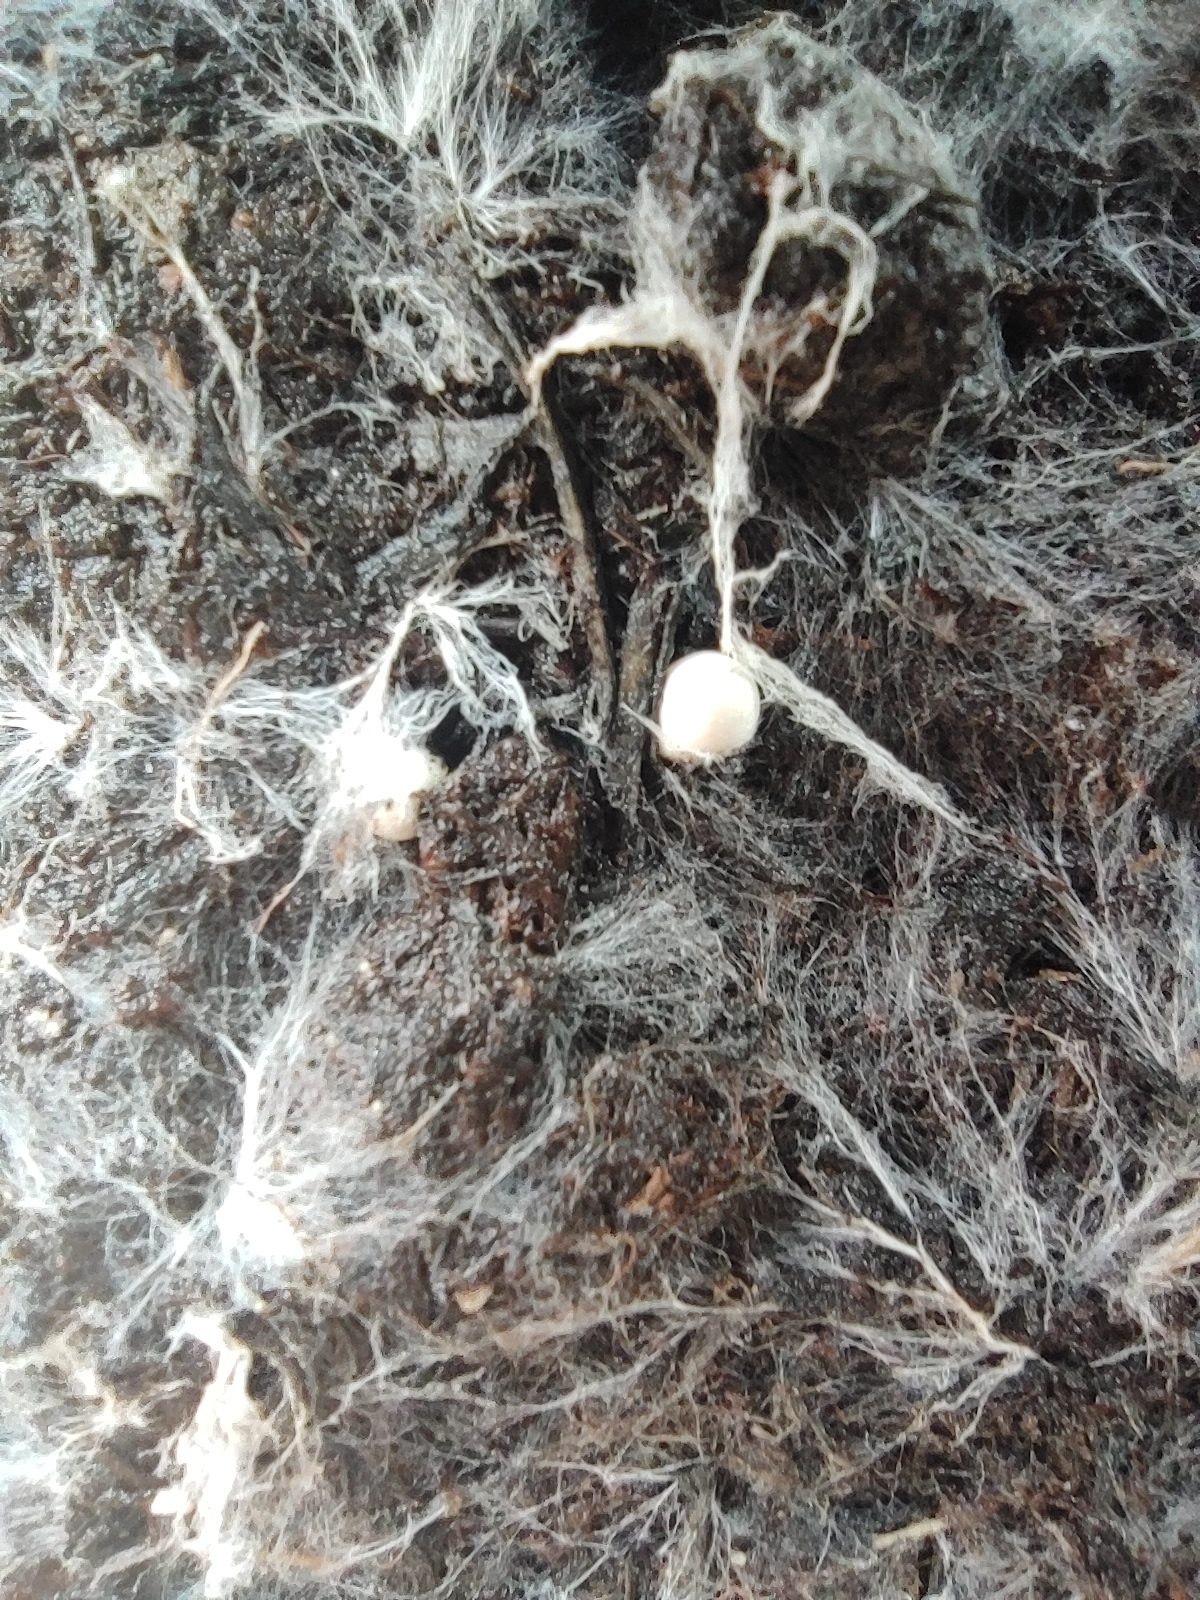
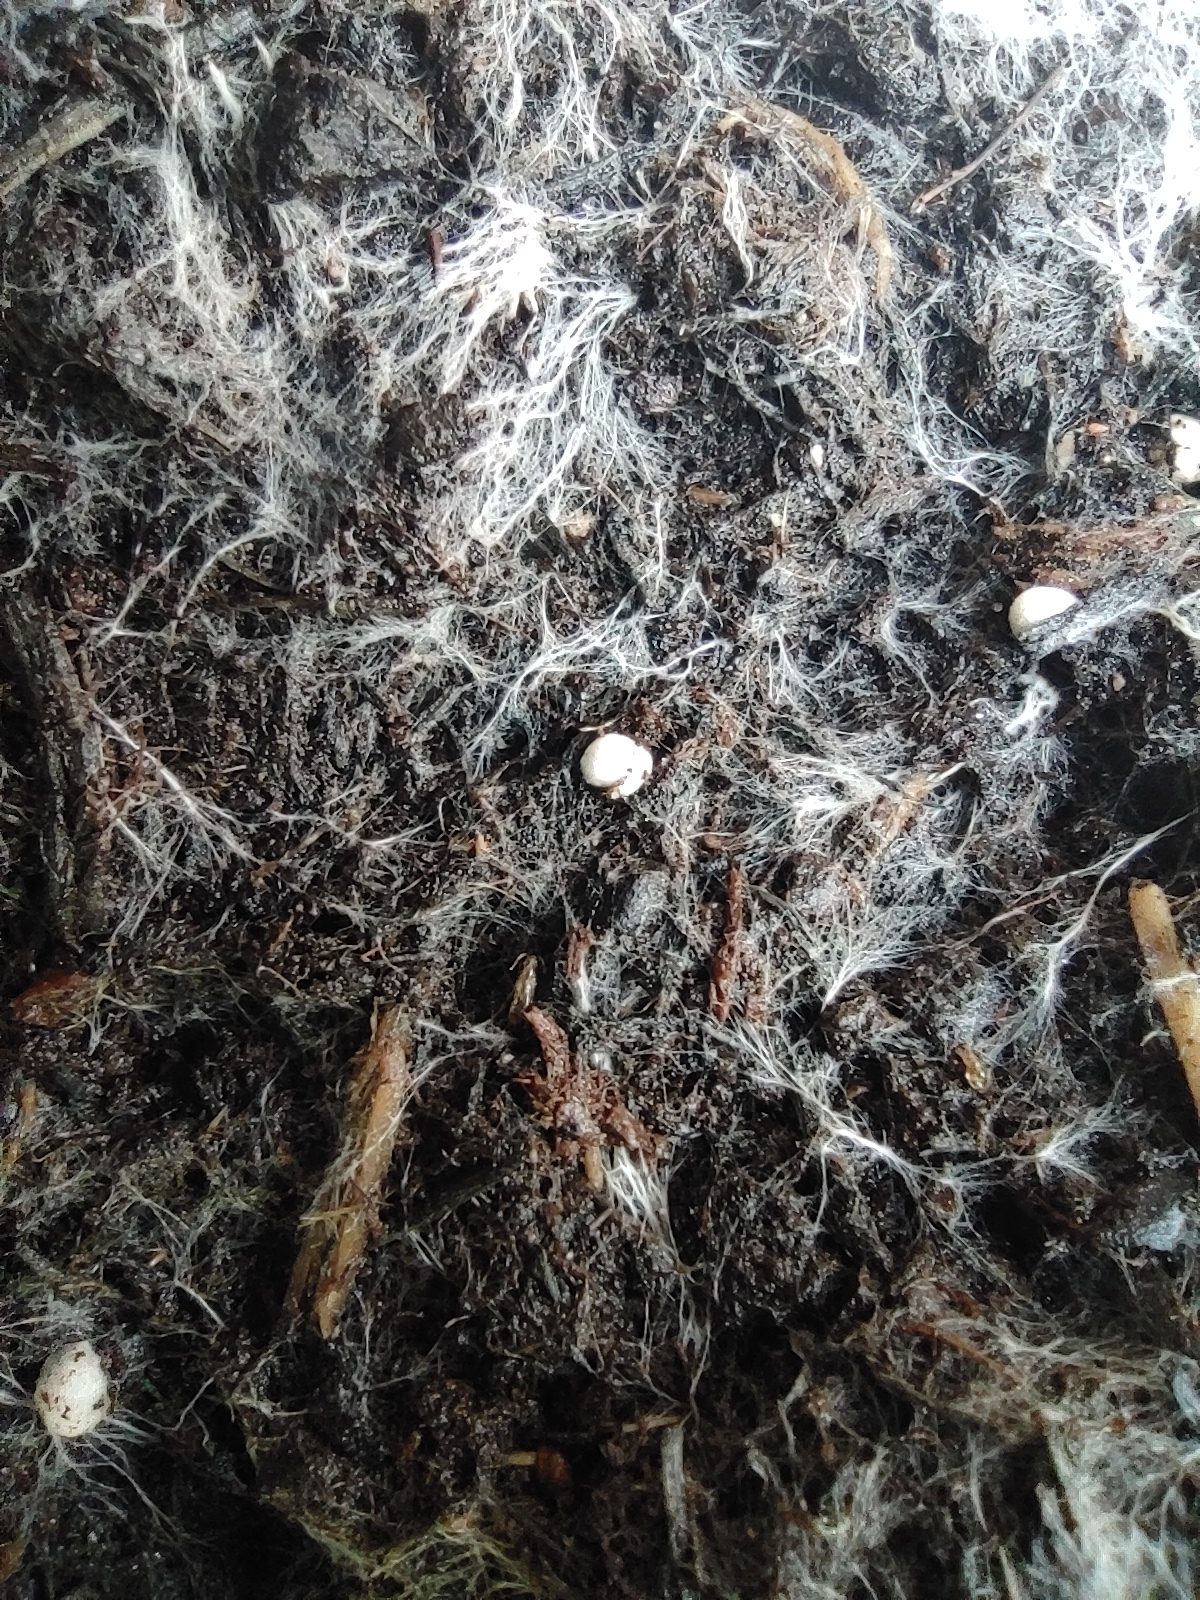
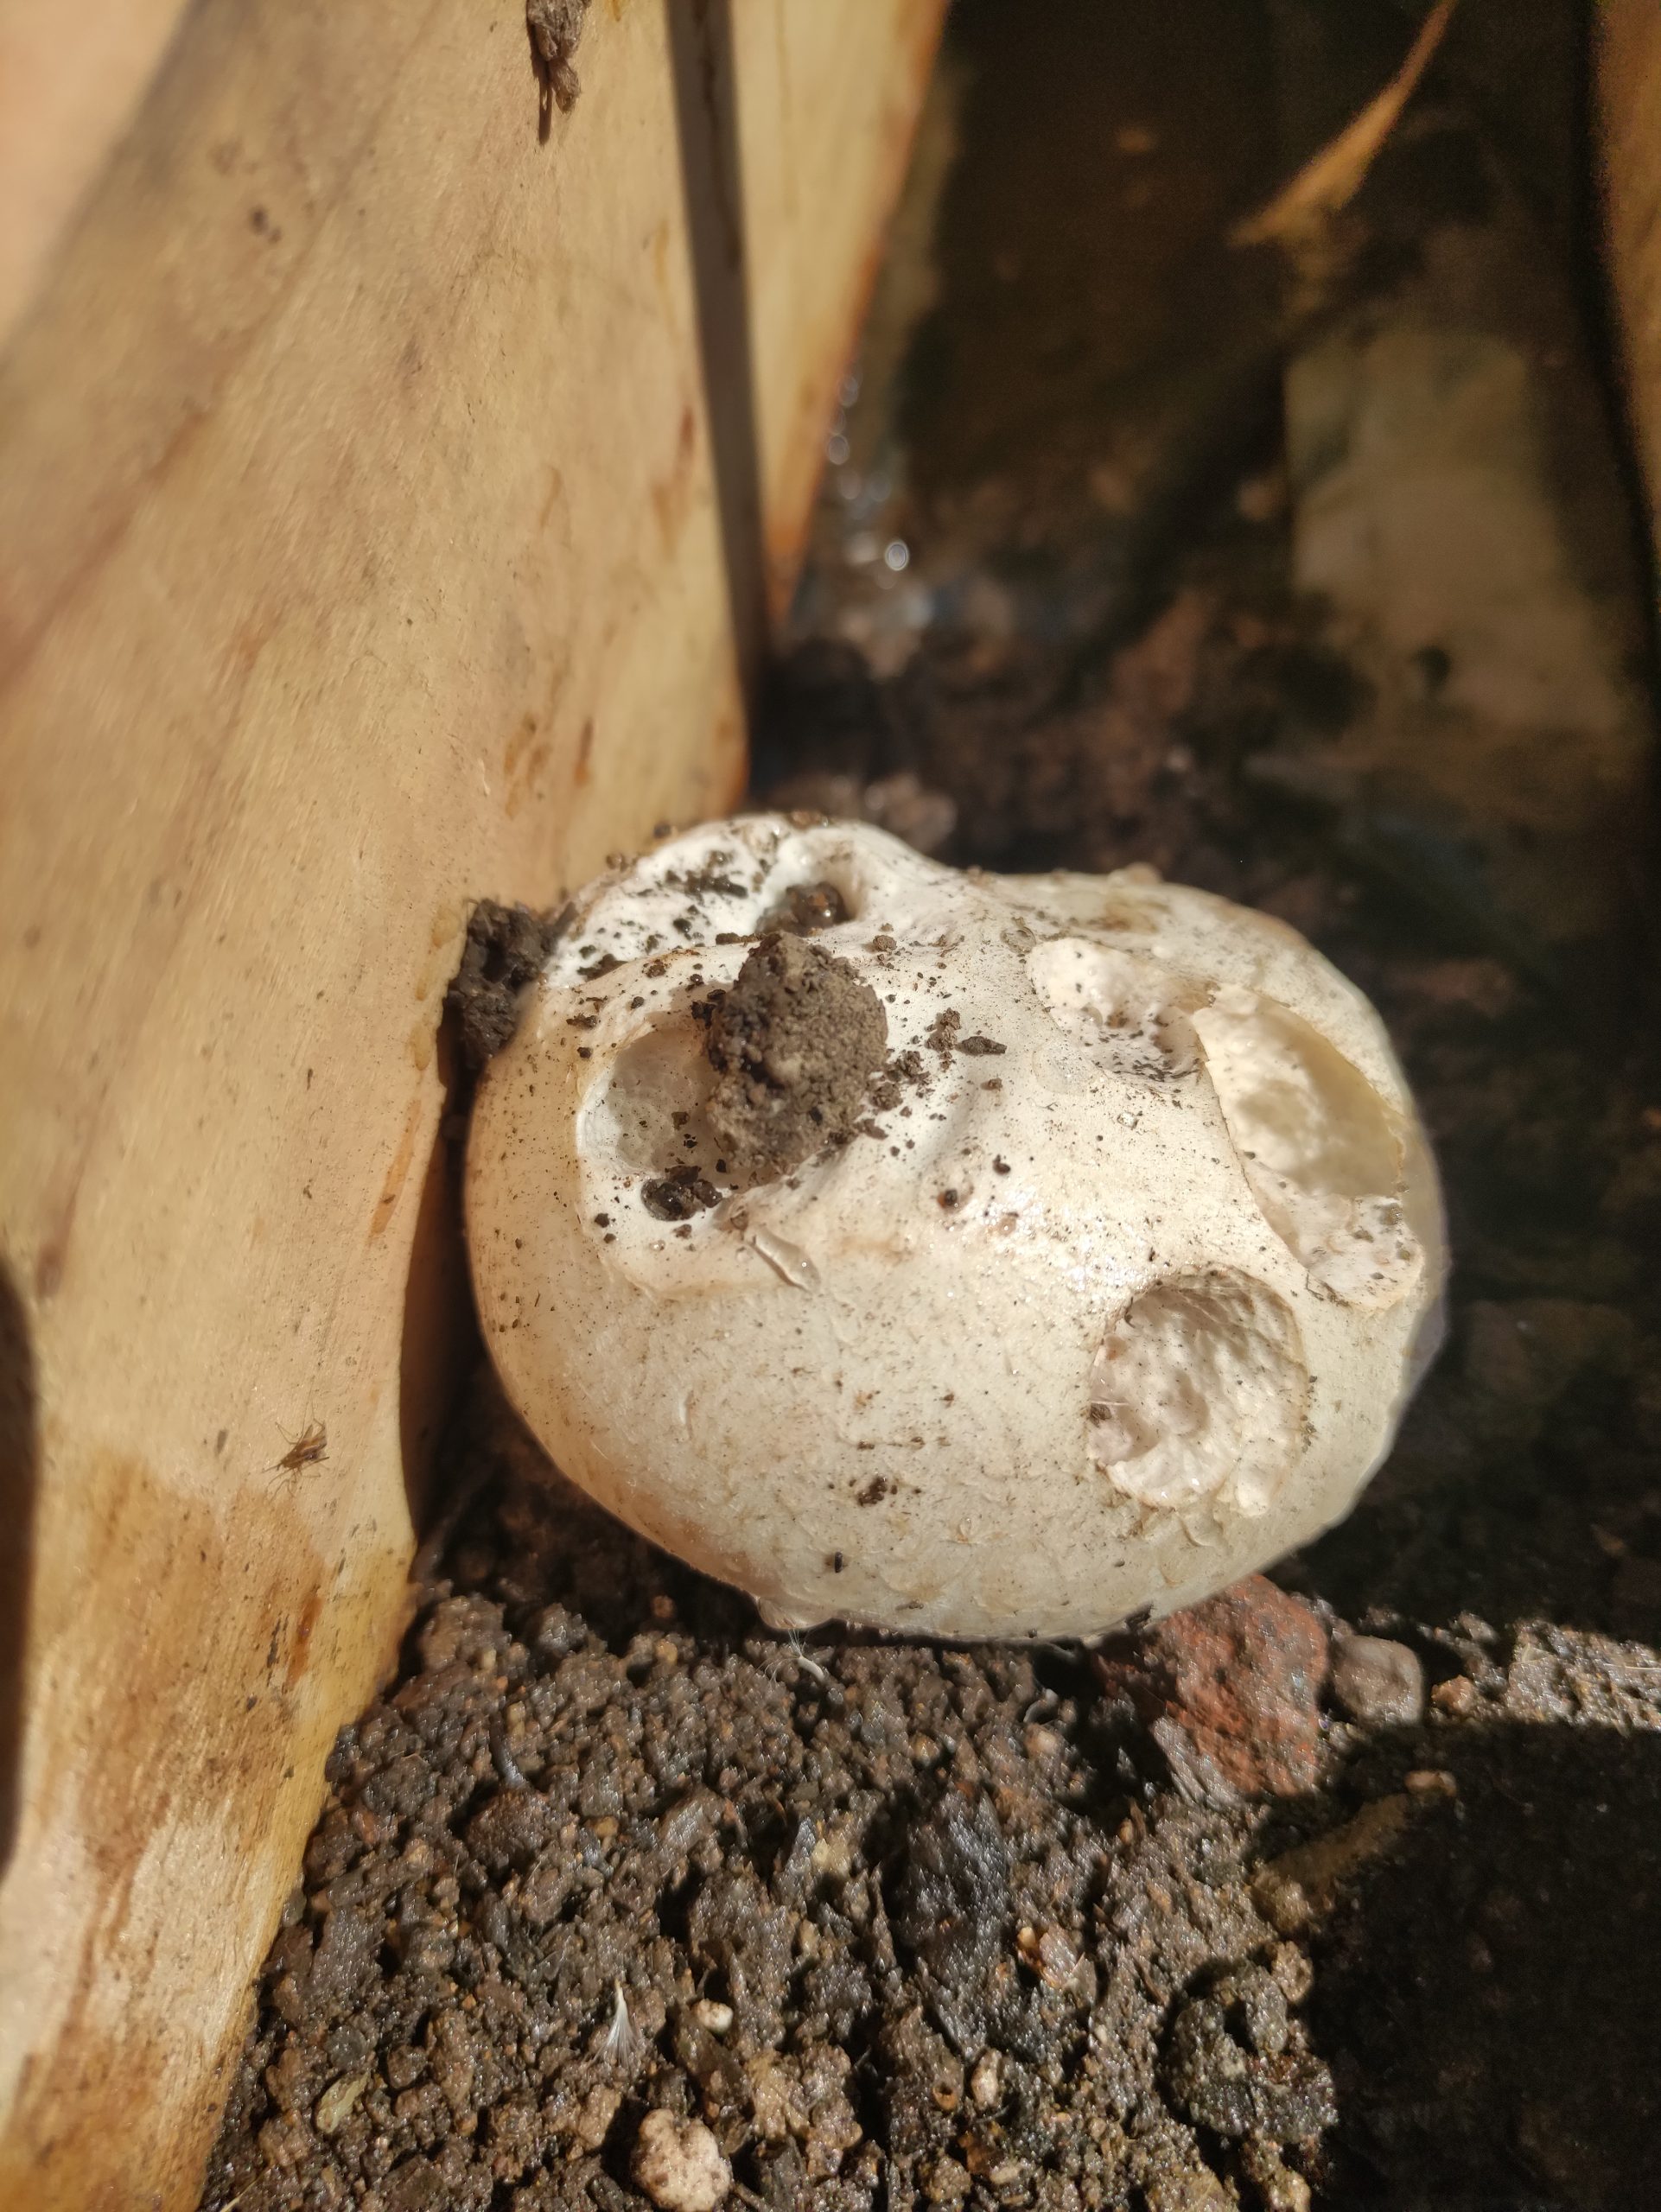
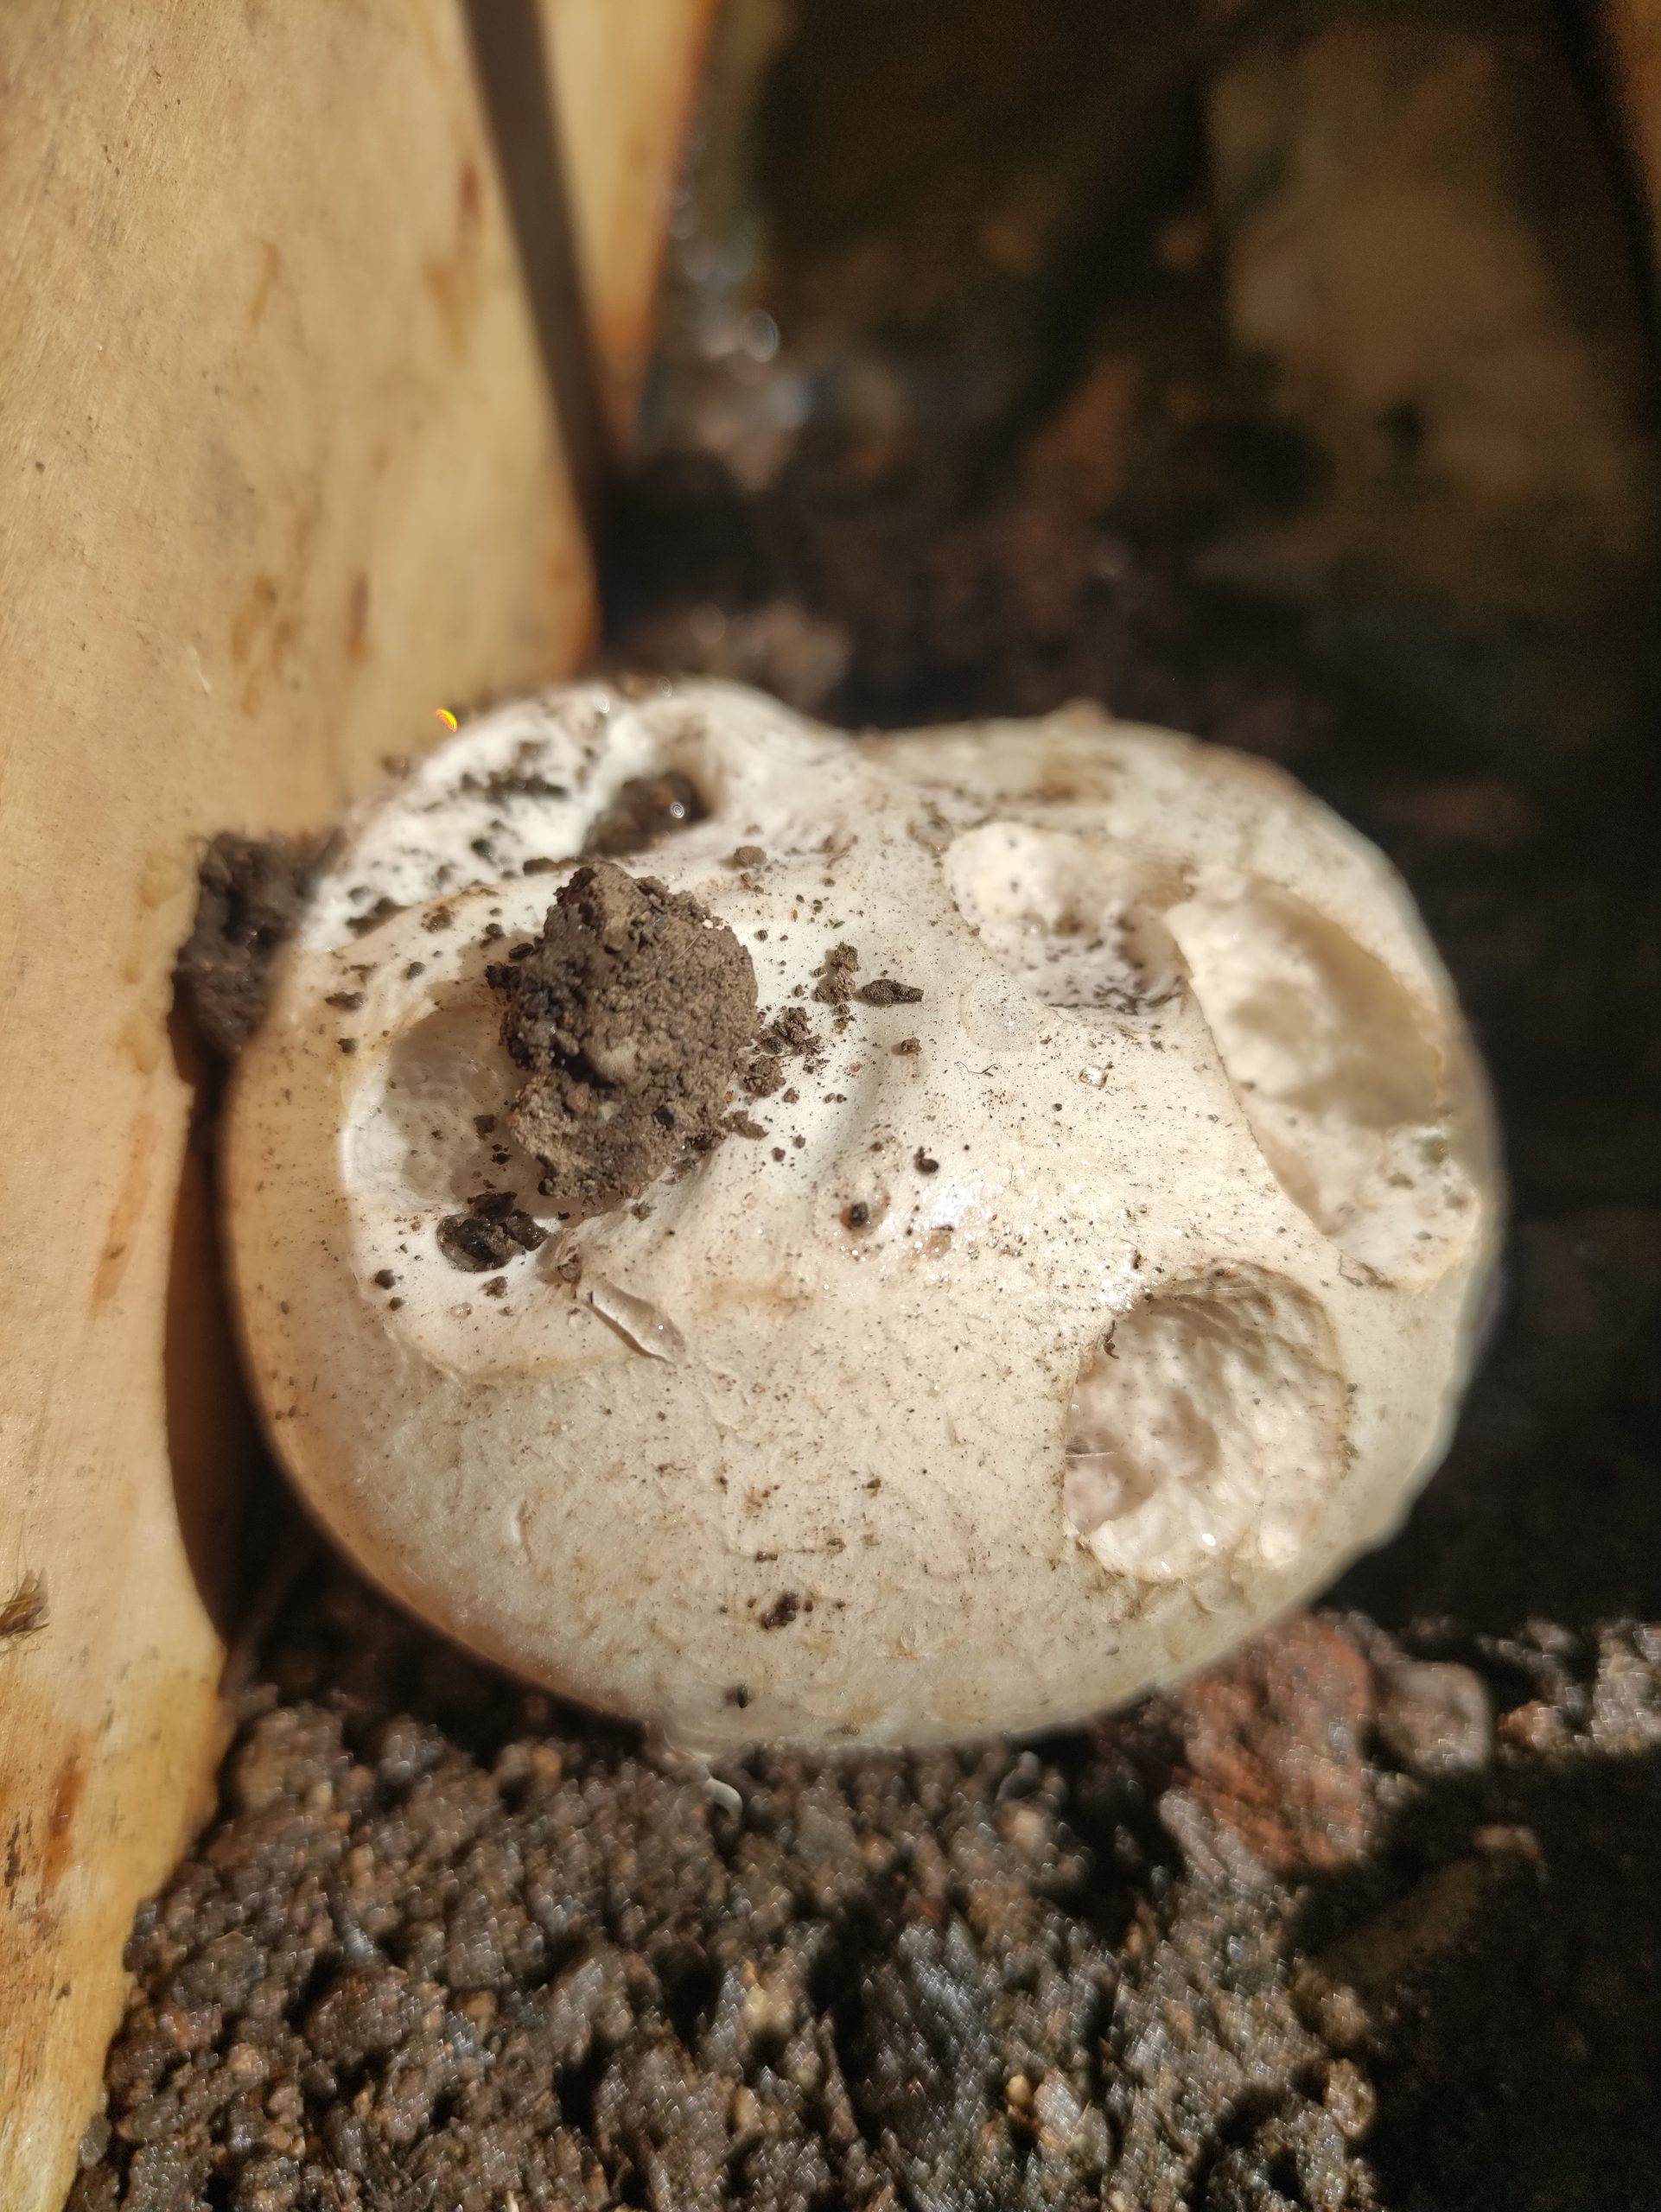
By the fourth session, after weeks of watching, waiting, and adjusting, the first pins appeared: the small white nubs that signal a mushroom is actually forming. Not long after, we had a mushroom growing in front of us. Harvesting has its own technique too: pick the biggest mushrooms first so the smaller ones get room to keep growing, leaving a little stem behind before trimming it back.
It was a small victory, and it felt earned. This workshop felt like working against the elements the whole way through, and getting even one mushroom to grow made every fiddly adjustment worth it.
Want to Try It Yourself?
If watching a mushroom go from spawn to pin over a few weekly sessions sounds like your kind of course, keep an eye on our events calendar. We run workshops like this throughout the year, and we would love to see you at the next one. Sign up for our growing tips to hear about it first.